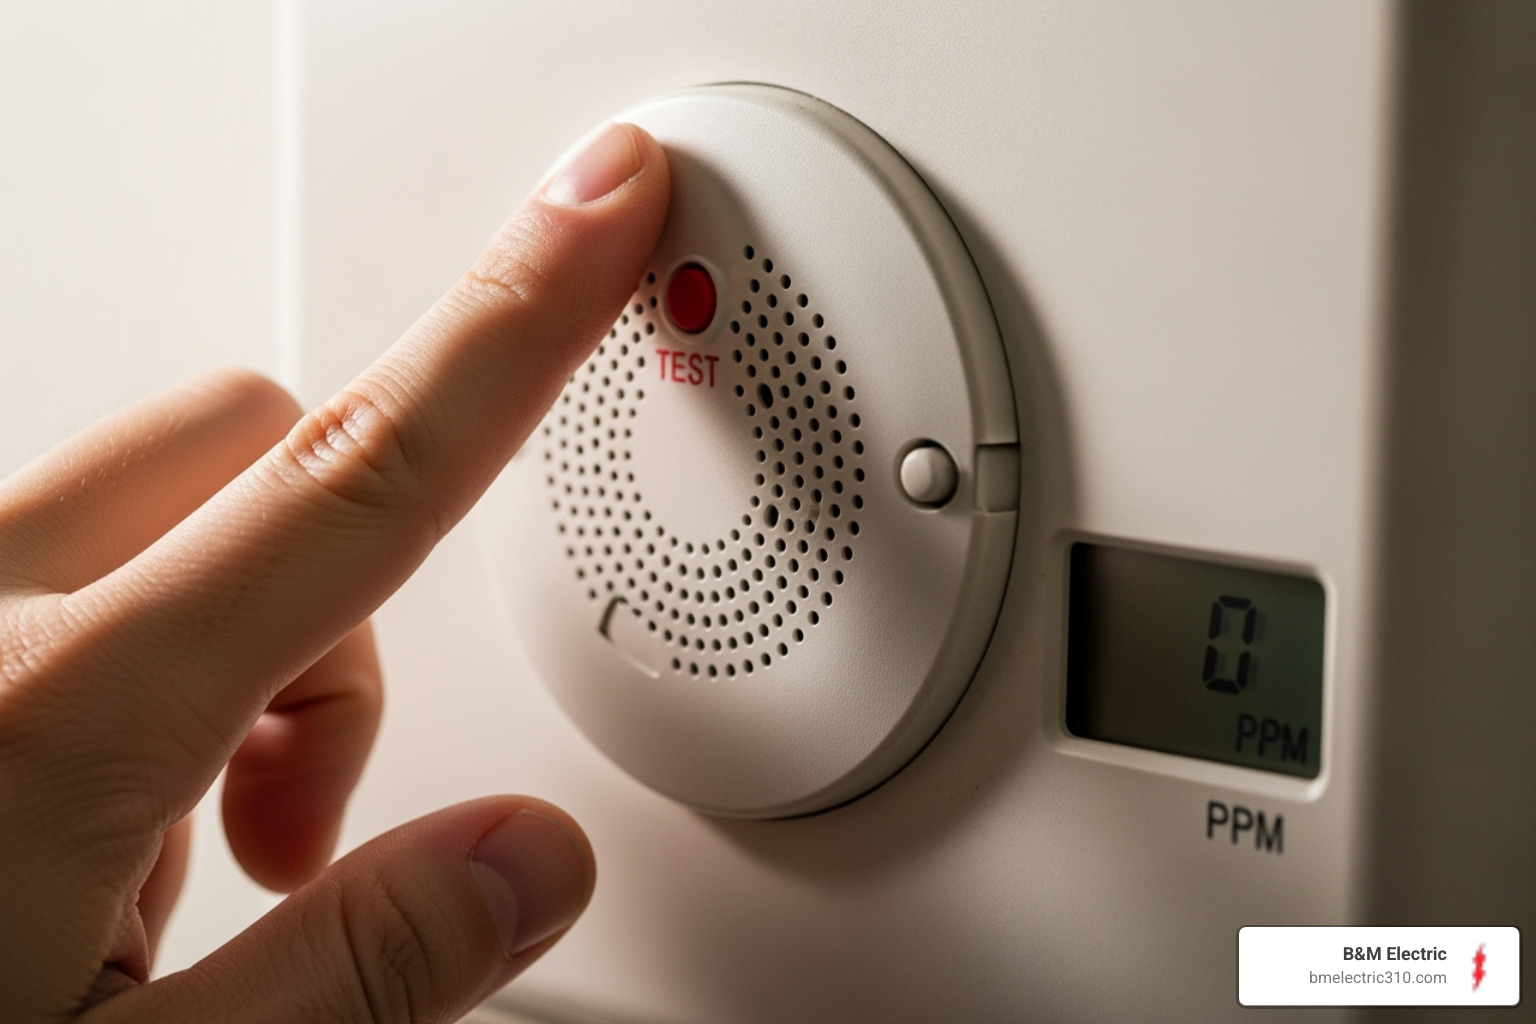
Don’t Get Gassed: How to Properly Install Your Carbon Monoxide Detector
By B&M Electric September 1, 2025
Carbon monoxide detector installation: Vital Safety 2025
Why Carbon Monoxide Detector Installation Could Save Your Life
Carbon monoxide detector installation is one of the most important safety upgrades you can make to your home. This invisible, odorless gas kills more than 400 Americans each year and sends over 20,000 to the emergency room, according to the CDC.
Quick Installation Guide:
- Install on every level of your home, including basements
- Place near sleeping areas – within 10 feet of bedroom doors
- Mount 5 feet high on walls or on ceilings
- Keep 15 feet away from fuel-burning appliances
- Test monthly and replace batteries every 6 months
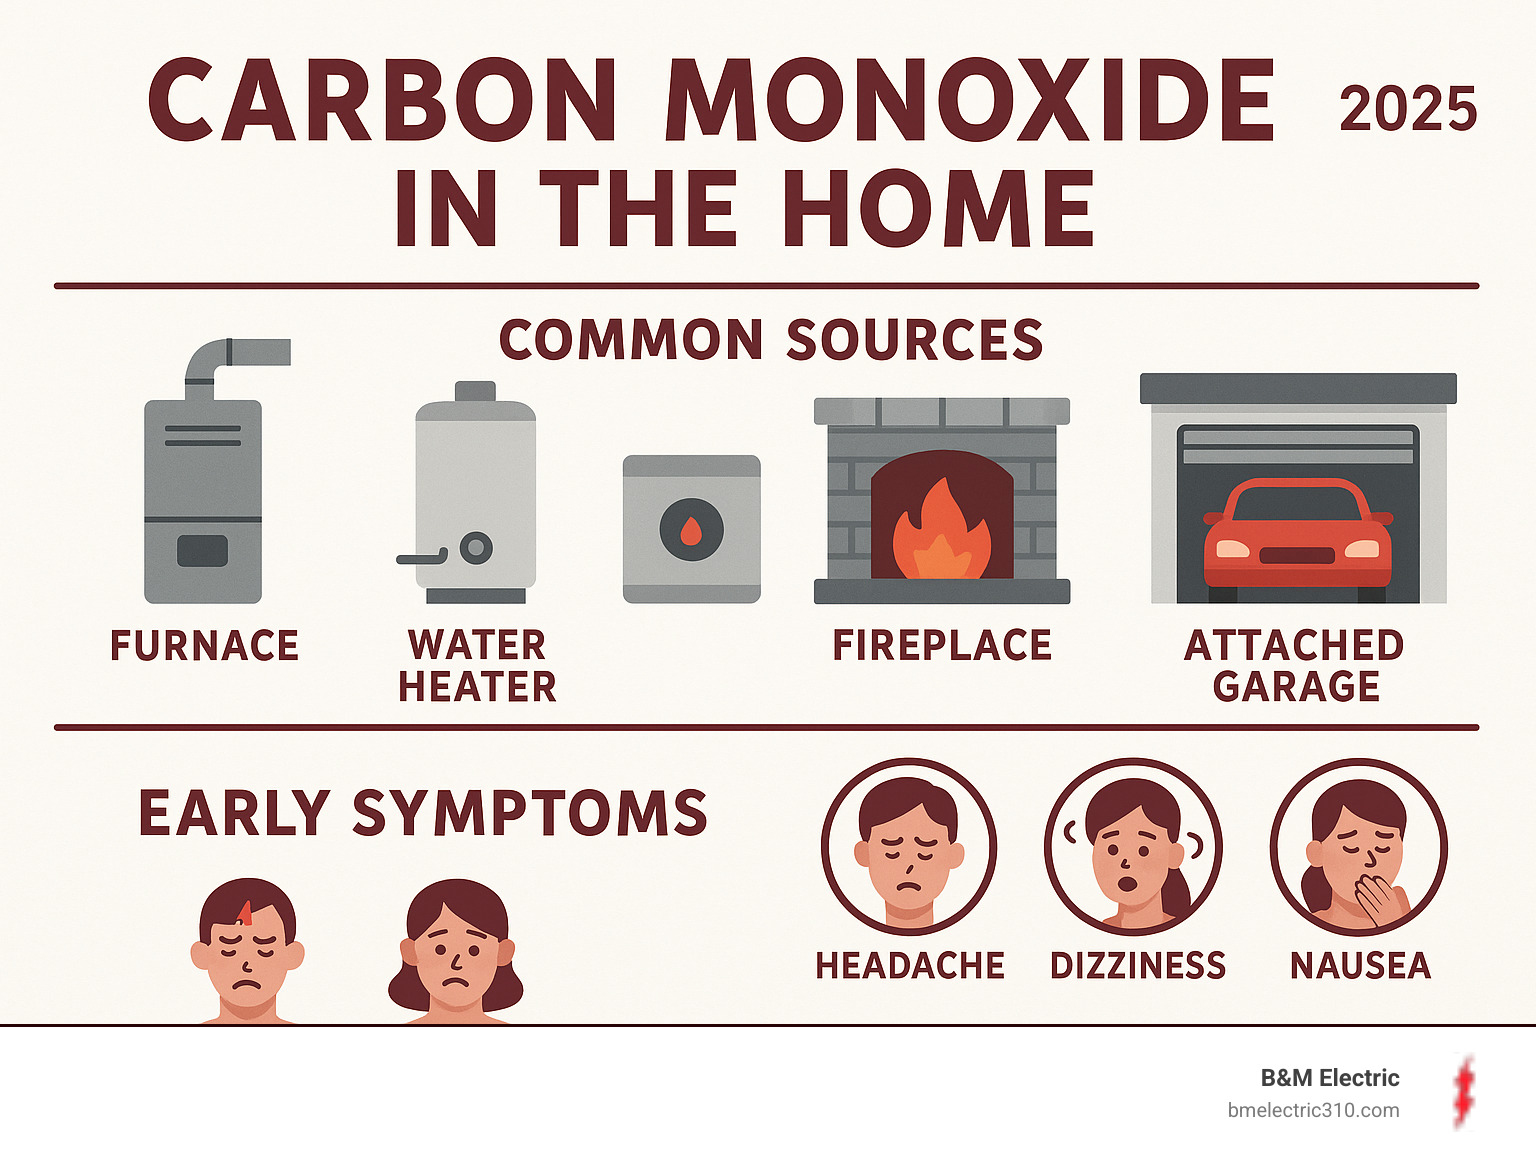
Carbon monoxide comes from common household items like furnaces, water heaters, gas stoves, and fireplaces. Even homes without natural gas need detectors – cars in attached garages, generators, and wood-burning fireplaces all produce this deadly gas.
The scary part? You can’t smell, see, or taste carbon monoxide. By the time you notice symptoms like headaches or dizziness, dangerous levels may have already built up in your home.
Unlike smoke detectors, CO detectors use special sensors to catch this gas before it becomes life-threatening. Many homeowners don’t realize that smoke detectors and carbon monoxide detectors are completely different devices that protect against separate dangers.
Understanding the Threat: CO Poisoning and Its Sources
Carbon monoxide is known as the “silent killer” because this colorless, odorless gas can be deadly before anyone realizes there’s a problem. Proper carbon monoxide detector installation is essential because you can’t see, smell, or taste CO.
CO is produced when fuel burns incompletely. Common sources in your home include:
- Furnaces, boilers, and water heaters, especially if poorly maintained or vented.
- Gas stoves and fireplaces, particularly if chimneys are blocked.
- Attached garages, where running a car can cause exhaust to seep into the house.
- Portable generators run too close to the home or indoors.
CO exposure is dangerous because it displaces oxygen in your bloodstream, effectively suffocating your body’s cells. Children, the elderly, and those with respiratory issues are at the highest risk.
What are the Signs of CO Poisoning?
Early symptoms of CO poisoning often mimic the flu, making them easy to dismiss. Be aware of these warning signs:
- Headaches (often persistent and dull)
- Dizziness and lightheadedness
- Nausea and vomiting
- Fatigue and weakness
- Confusion or disorientation
- Chest pain
Vulnerable individuals and pets may show symptoms first. If you suspect CO poisoning, act immediately:
- Get everyone outside to fresh air immediately. Don’t stop to open windows.
- Call 911 from outside and report a suspected carbon monoxide issue.
- Do a headcount to ensure everyone, including pets, is safe.
- Do not re-enter the home until emergency responders declare it safe.
- Seek medical attention for anyone with symptoms, as CO can have lasting effects.
The CDC provides detailed information that every homeowner should review: The CDC explains the symptoms of CO poisoning. While knowing the signs is important, a working CO detector is your first and best line of defense.
Before You Begin: Choosing the Right CO Detector
Now that we understand the threat, let’s talk about the unsung heroes of home safety: CO detectors. Selecting the right one is a crucial step in ensuring effective carbon monoxide detector installation.
Most modern units use an electrochemical sensor. When CO gas enters the detector, it triggers a chemical reaction that creates an electrical current. When the current reaches a dangerous threshold, the alarm sounds.
It’s critical to know that CO detectors and smoke detectors are completely different devices. Smoke detectors sense fire particles, while CO detectors sense poisonous gas. While combination units exist, many experts recommend separate devices for specialized protection.
Types of Carbon Monoxide Detectors
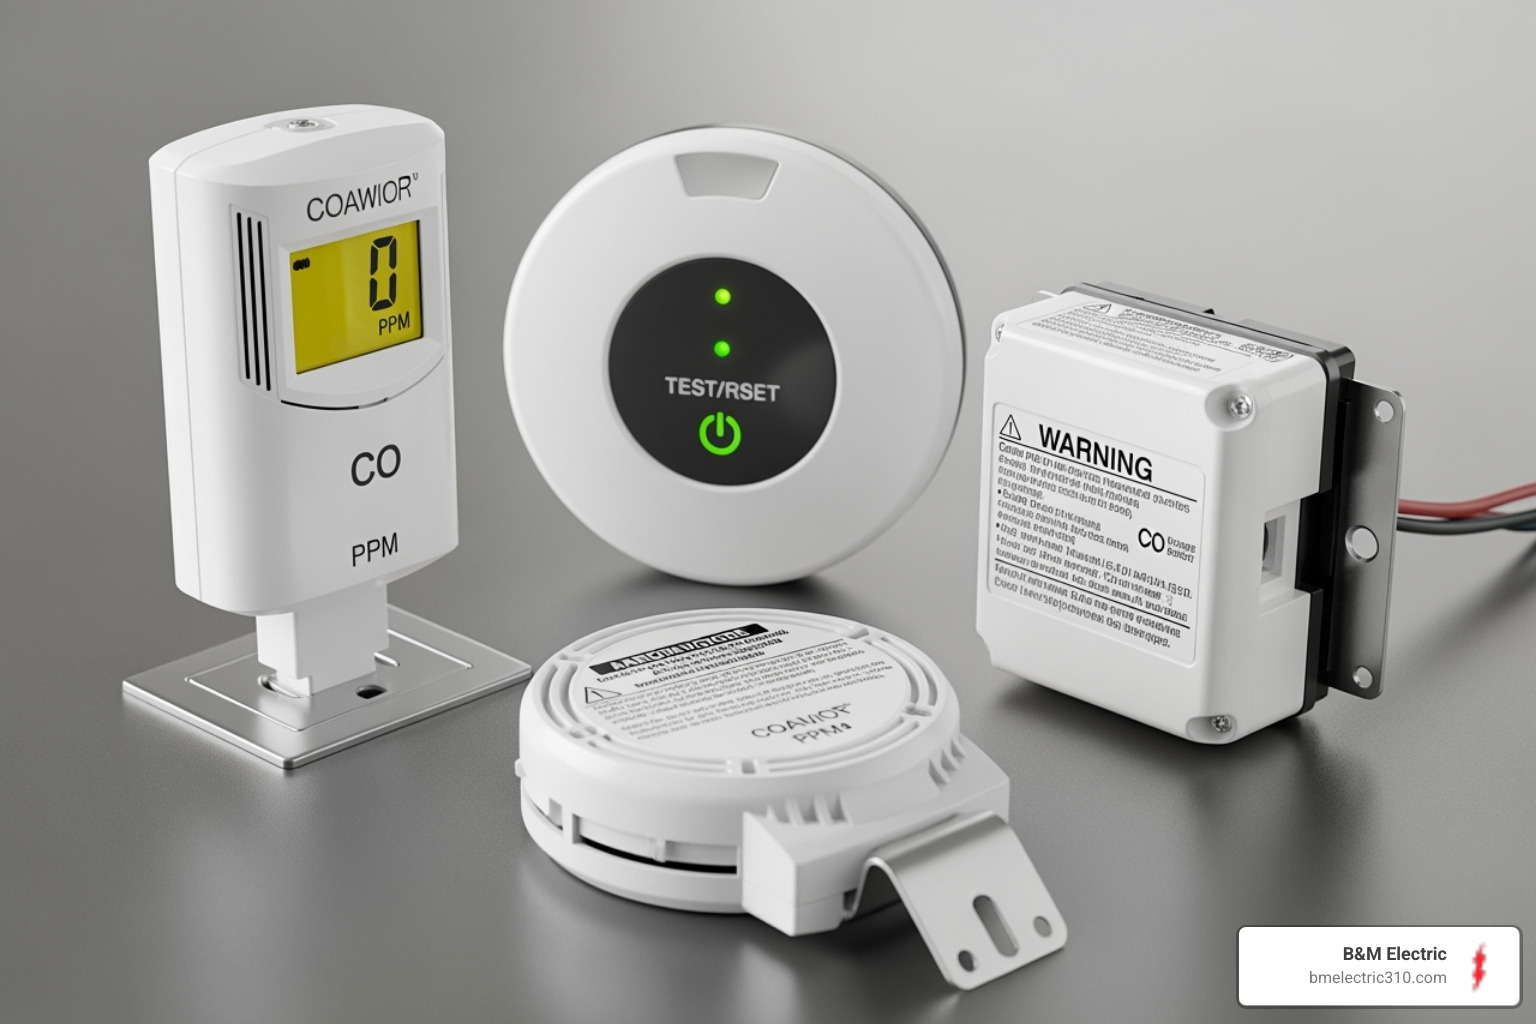
When you’re ready for carbon monoxide detector installation, you’ll find four main types:
- Battery-powered detectors: The easiest to install. Newer models feature sealed 10-year lithium batteries, eliminating the need for frequent changes.
- Plug-in detectors: Simple to use, they plug into a standard wall outlet and most include battery backup for power outages.
- Hardwired detectors: These are wired directly into your home’s electrical system, often interconnected so that when one sounds, they all do. This installation requires a professional electrician. At B&M Electric, we handle residential electrician services including hardwired detector installation.
- Smart detectors: These connect to your Wi-Fi and can send alerts to your phone, offering peace of mind when you’re away from home.
Features to Look For
Beyond the basic type, look for these valuable features:
- Digital display: Shows the real-time CO concentration in parts per million (PPM).
- Peak level memory: Records the highest CO level detected, which helps identify intermittent problems.
- Voice alerts: Announces the specific danger (e.g., “Warning! Carbon Monoxide!”) for clearer communication during an emergency.
- Battery backup: An essential feature for any plug-in or hardwired unit.
- End-of-life warning: A distinct chirp that lets you know when the detector’s 5-10 year lifespan is over and it’s time for a replacement.
- UL certification: This seal from Underwriters Laboratories confirms the device has passed strict safety and performance tests.
The Ultimate Guide to CO Detector Placement
Getting the placement right is where the magic happens with carbon monoxide detector installation. A detector in the wrong spot won’t protect you when you need it most.
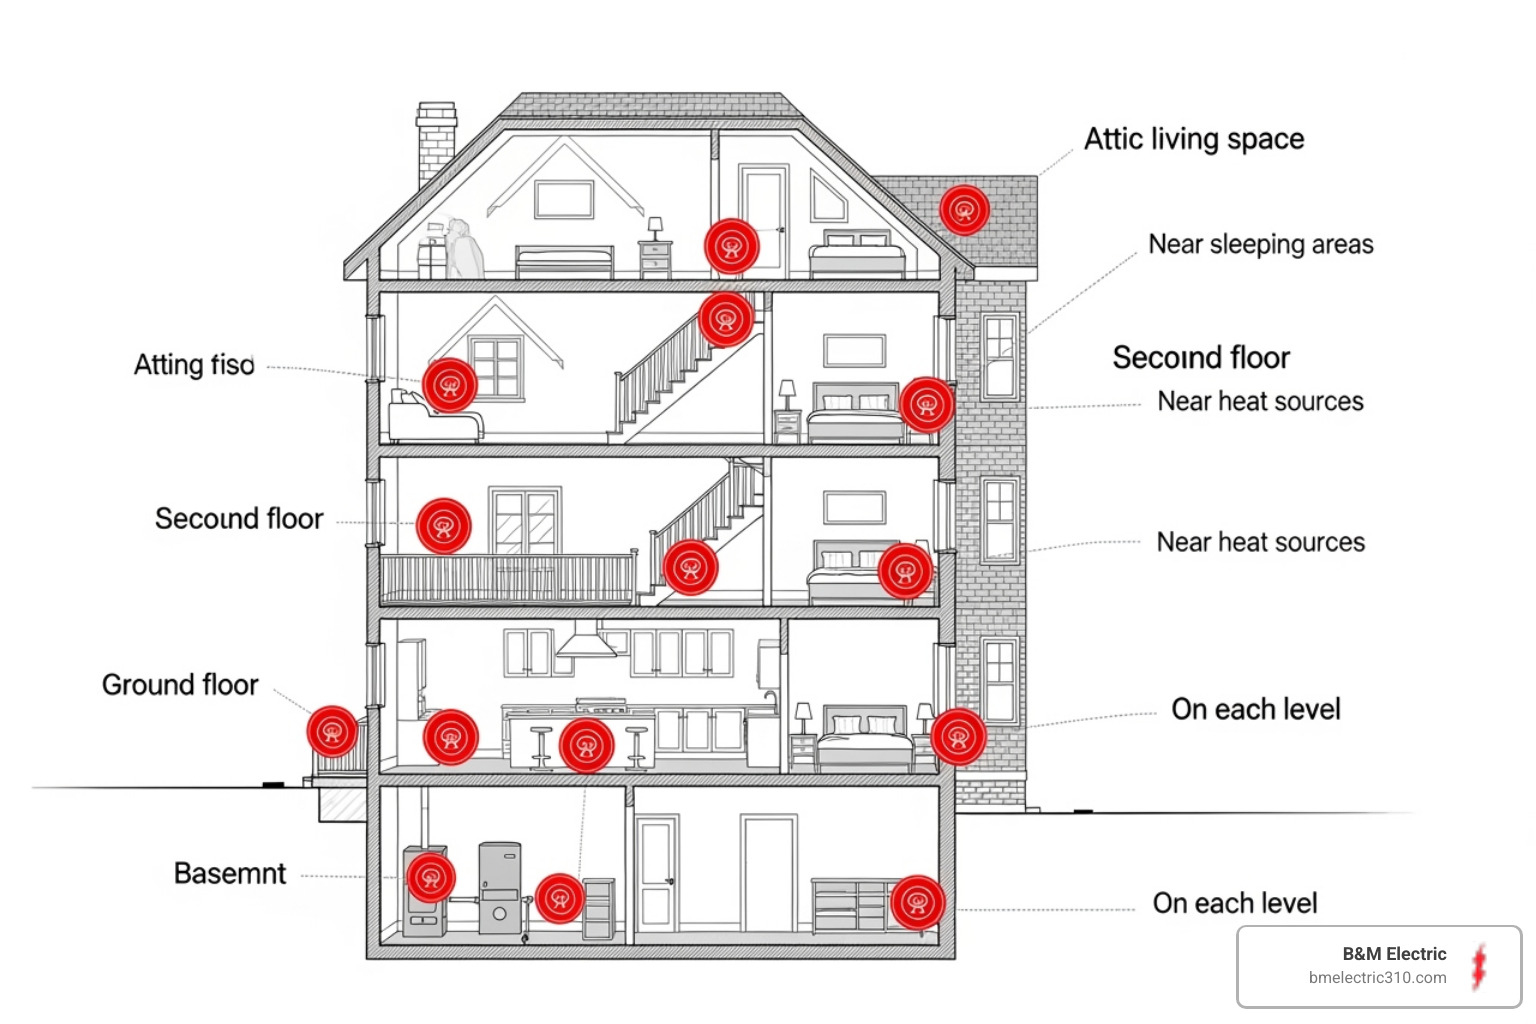
The golden rule, recommended by the National Fire Protection Association (NFPA) on CO safety, is to have at least one CO detector on every level of your home, including basements and finished attics. The most critical locations are outside each sleeping area, ideally within 10 feet of bedroom doors to wake you if an emergency occurs at night.
Where to Install Your Detectors
For perfect placement, focus on central locations where the alarm can be heard by everyone.
- Hallways outside bedrooms are ideal, as sound travels well and they are near sleeping areas.
- Near the door to an attached garage to catch car exhaust before it enters your living space.
- Wall vs. Ceiling: For wall mounting, place the detector about five feet from the floor. For ceiling mounting, keep it at least six inches from any wall. Always follow the manufacturer’s specific instructions.
- Distance from Appliances: Keep detectors at least 15 feet away from fuel-burning appliances like furnaces or stoves. This prevents false alarms from the small, harmless amounts of CO released during startup.
- Airflow: Choose spots with normal air circulation, like hallways or living areas, not dead-air corners.
Where NOT to Install Your Detectors
Avoiding the wrong spots is just as important as choosing the right ones. Do not install detectors in or near:
- Kitchens: Cooking fumes can trigger false alarms.
- Garages: Car exhaust will set off the alarm every time you start your vehicle.
- Bathrooms: High humidity and steam can damage the sensor.
- Direct sunlight, heating vents, or fans: Extreme temperatures and drafts can interfere with the sensor’s accuracy.
- Behind furniture or curtains: Obstacles can block airflow and prevent CO from reaching the detector.
Step-by-Step Carbon Monoxide Detector Installation
Now it’s time to install your carbon monoxide detector! For battery-powered or plug-in models, this is a quick project most homeowners can handle.
Before you begin, always read and follow the manufacturer’s guide exactly. The instructions are your roadmap to a safe and effective installation.
For a typical battery-powered installation:
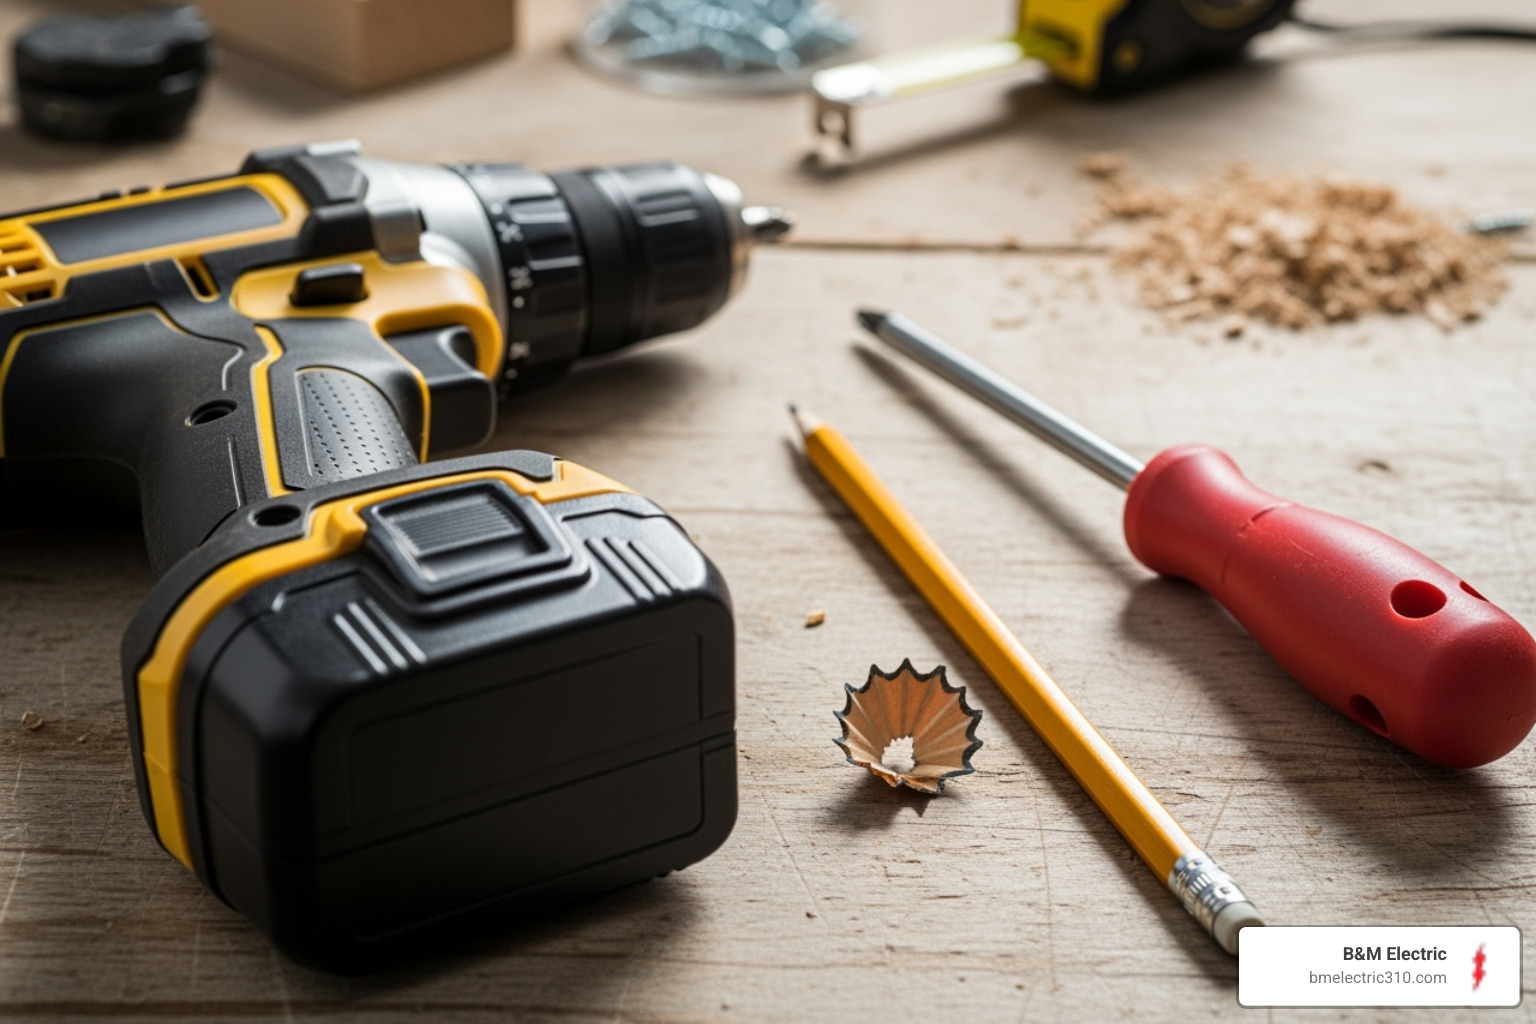
- Mark the spot: Hold the mounting bracket against the wall or ceiling and mark the screw holes with a pencil.
- Drill pilot holes: Drill small holes for the screws. If mounting on drywall, gently tap in the supplied plastic anchors.
- Attach the bracket: Screw the mounting bracket securely to the wall or ceiling.
- Power up the detector: Insert the batteries, ensuring the positive (+) and negative (-) terminals are correctly aligned.
- Mount and test: Snap the detector onto the bracket and press the test button. A loud, clear alarm confirms the installation was successful.
Hardwired installation is more complex as it involves connecting the detector to your home’s electrical system. While these systems offer excellent protection—especially when interconnected so all alarms sound at once—they require electrical expertise. For tips on overall home electrical safety, see our guide on Tips to ensure home electrical safety.
DIY vs. Professional Carbon Monoxide Detector Installation
The choice to DIY or hire a pro depends on the detector type and your comfort level.
- When to DIY: If you’ve chosen battery-powered or plug-in detectors, this is a great DIY project. It requires basic tools and no electrical wiring.
- When to call a pro: For hardwired systems, professional installation is crucial. An electrician ensures the wiring is safe, meets local building codes, and that interconnected alarms function correctly. This is especially important in large homes or for families with hearing-impaired members.
At B&M Electric, we have 50 years of experience helping South Bay families with electrical installations. We ensure your hardwired CO detectors are installed to the highest safety standards. Professional installation is also wise if your local codes require permits for this type of work. For more on this, read our article on Electrical inspections for safeguarding your home.
After the Install: Maintenance, Testing, and Emergency Response
Congratulations! You’ve completed your carbon monoxide detector installation. But installation is just the first step. Ongoing maintenance is essential to keep your family protected.
First, create an emergency plan. Everyone in your home should know what the alarm sounds like and what to do. Practice your escape route and designate an outdoor meeting spot.
If the alarm sounds, evacuate immediately. Do not investigate the source or open windows. Get everyone, including pets, outside to fresh air. Call 911 from outside and do a headcount. Do not re-enter your home until emergency responders give the all-clear, as dangerous CO levels may still be present.
How to Maintain and Test Your Detector
Proper care is simple but critical:
- Test Weekly: Press the test button to ensure the alarm is loud and clear. If it’s weak or silent, replace the batteries or the unit itself.
- Clean Monthly: Use a vacuum’s soft brush attachment to gently remove dust and cobwebs from the vents. This prevents debris from interfering with the sensor.
- Replace Batteries: For standard models, change the batteries every 6 months, even if they aren’t low. A good reminder is to do this when you change your clocks for daylight saving time. Units with 10-year sealed batteries do not require battery changes.
Understanding Your Detector’s Lifespan
CO detectors don’t last forever. Most have a 5-10 year lifespan, after which their sensors become less reliable. Your detector will signal its retirement with a specific end-of-life chirp, which is different from a low-battery warning.
Check the manufacture date on the back of the unit and write the installation date on it with a marker. Set a calendar reminder to replace the detector before it expires to ensure continuous, reliable protection for your family.
Frequently Asked Questions about CO Detectors
Over our 50 years serving Torrance and the South Bay, we’ve heard just about every question you can imagine about carbon monoxide detector installation. Here are the most common ones.
How often should I replace the batteries in my carbon monoxide detector?
For standard units, replace the batteries every 6 months. A good habit is to change them when you change your clocks for Daylight Saving Time. If your detector has a 10-year sealed battery, you must replace the entire unit at the end of its 10-year lifespan. Check the manufacture date on the back.
Are carbon monoxide detectors and smoke detectors the same thing?
No, they detect two completely different dangers. Smoke detectors sense fire particles, while CO detectors sense carbon monoxide gas. You need protection from both. Combination alarms that detect both are available, but ensure you have adequate coverage regardless of which type you choose.
What should I do if my CO alarm goes off?
Treat every alarm as a real emergency. Don’t hesitate or try to find the source.
- Immediately get everyone out of the house and into fresh air. This includes pets.
- Call 911 from a safe location outside your home.
- Do not go back inside until emergency services (the fire department or utility company) have declared it safe.
If anyone is experiencing symptoms like headaches, dizziness, or nausea, inform the 911 operator. Your quick action is critical.
Protect Your Home with Proper Installation
We’ve covered a lot of ground, and hopefully, you now have the confidence and knowledge for a successful carbon monoxide detector installation. This isn’t just another home project—it’s a critical safety measure for your loved ones.
A CO detector is your 24/7 guard against the silent killer. To ensure it works effectively, remember these key points:
- Install detectors on every level of your home, especially outside sleeping areas.
- Follow manufacturer instructions for placement and height.
- Test detectors monthly and replace batteries every six months (for standard units).
- Replace the entire unit every 5-10 years, according to its expiration date.
- Have an emergency plan: If the alarm sounds, get out, stay out, and call 911.
While installing battery-powered detectors is a manageable DIY task, hardwired or interconnected systems require professional expertise to ensure they meet local codes and are integrated safely with your home’s electrical system.
At B&M Electric, we’ve been keeping South Bay families safe for 50 years. Our team understands that electrical work is about precision, care, and doing the job right the first time. We make the experience smooth and stress-free, providing the peace of mind your family deserves.
Don’t gamble with your family’s safety. Whether you need expert carbon monoxide detector installation or any other electrical service, we’re here to help. Contact our expert electrical contractors in Torrance for professional installation and let us give you the peace of mind that comes with a job done right.
