Switching It Up: Solving Common Light Switch Problems
By B&M ElectricNovember 10, 2025
Flickering Light Switch: 5 Urgent Solutions
Why Your Flickering Light Switch Demands Immediate Attention
A flickering light switch is more than just an annoying inconvenience that disrupts your evening. It’s often your home’s electrical system sending out an SOS, a clear warning about potentially serious problems lurking behind your walls. Whether you’re dealing with an occasional, subtle dimming or a constant, rave-like pulsing light in your Torrance home, understanding the root cause is absolutely crucial for your safety and peace of mind. Ignoring it can have consequences far more severe than a simple headache.
Before you dive into complex diagnostics, a quick check can often point you in the right direction. Here’s how to read the signs:
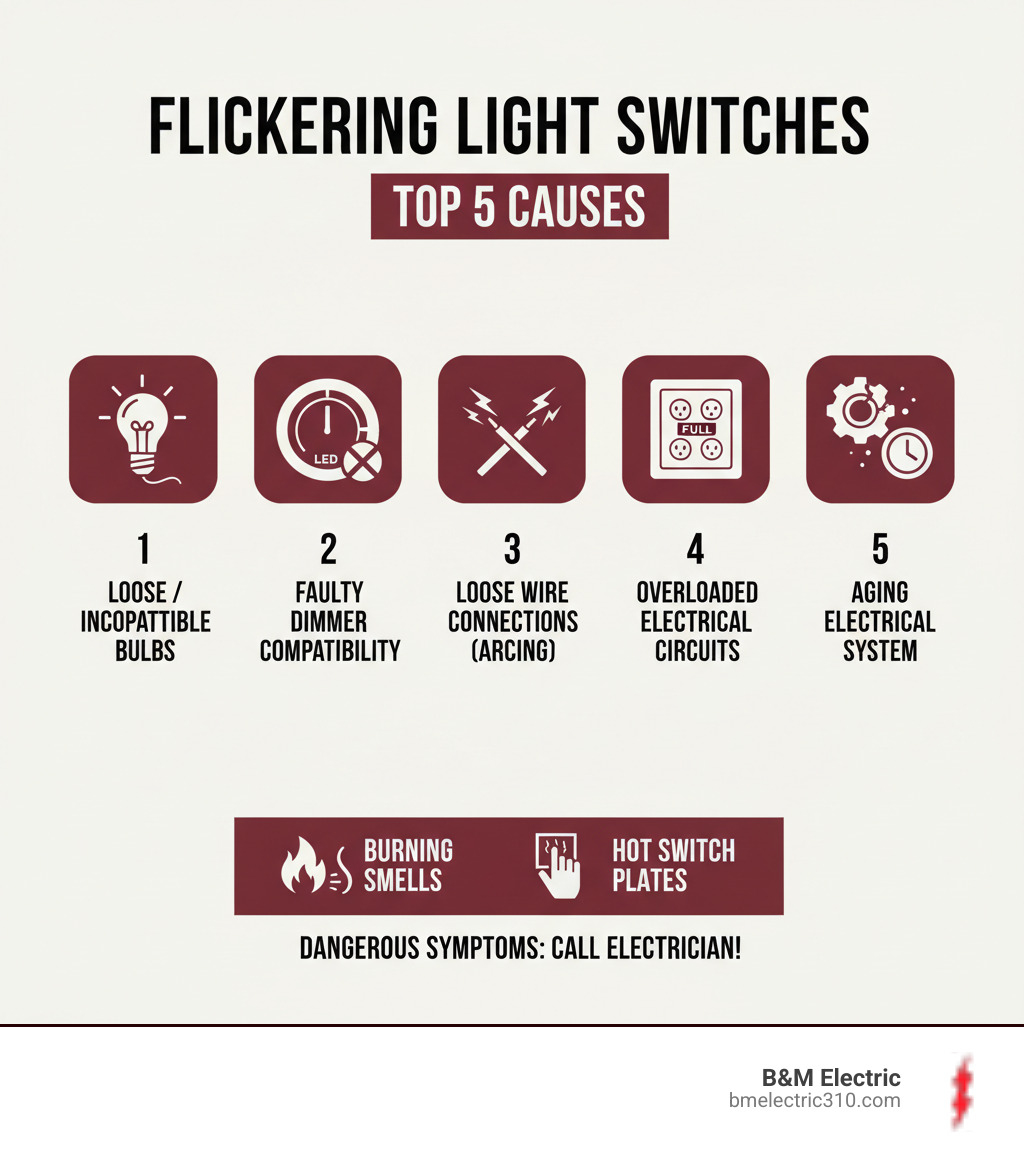
- Check the Bulb First: The most common and least dangerous cause. Is the bulb screwed in all the way? Vibrations from footsteps or closing doors can loosen it over time, disrupting the electrical contact.
- Analyze Your Dimmer: If you have a dimmer switch, especially with LED bulbs, you may have a compatibility issue. Many older dimmers aren’t designed for the low power draw of modern LEDs, causing them to flicker.
- Feel the Switch Plate (Carefully!): Place your hand near the switch plate. If it feels warm or hot to the touch, stop immediately. This indicates a dangerous amount of heat buildup from a loose connection or failing switch, which is a major fire hazard.
- Listen for Unusual Sounds: Put your ear close to the switch. Do you hear a faint buzzing, sizzling, or crackling sound? These noises are the sound of electricity arcing—jumping across a gap in the wiring. This is an extremely dangerous situation that requires an immediate call to a professional electrician.
- Note the Flickering Pattern: Does it happen randomly, or is there a pattern? A light that flickers when the air conditioner kicks on points to a different problem than a light that flickers constantly on its own.
The key difference between a simple fix and a serious problem often comes down to frequency and scope. Occasional flickering in a single light might just need a tighter bulb. But constant flickering, or flickering that affects multiple lights or rooms? That’s your electrical system crying for help.
Understanding the Flicker’s Timing:
- Occasionally: This usually points to a minor, localized issue. Most often, it’s a loose bulb or a minor connection issue at the fixture itself. It could also be a sign that a bulb is nearing the end of its life.
- Constantly: This is a red flag. Constant, rhythmic flickering often indicates a serious and potentially dangerous problem with the switch, the fixture, or the wiring itself. This requires professional attention without delay.
- With Appliances Turning On: If your lights dim or flicker when a large appliance like a microwave or HVAC unit starts up, you’re likely experiencing circuit overload or significant voltage fluctuation. The large appliance creates a sudden, high demand for power (inrush current), causing a temporary voltage drop across the entire circuit.
Don’t ignore persistent flickering. It can indicate loose wiring within your walls or at the switch terminals. These loose connections create resistance and heat, leading to a dangerous phenomenon called arcing. Arcing is a primary cause of electrical fires, and according to fire safety experts like the National Fire Protection Association (NFPA), electrical failures are a leading cause of home fires in the U.S. What starts as a flicker can become a flame.
Easy Fixes: Your First Steps in Troubleshooting
Before panicking about complex electrical issues and hidden dangers, let’s start with the simple solutions that might save your day. Sometimes, a flickering light switch problem has a surprisingly straightforward fix that takes just minutes to resolve. However, your safety must always be the top priority when dealing with any electrical component, no matter how simple it seems.
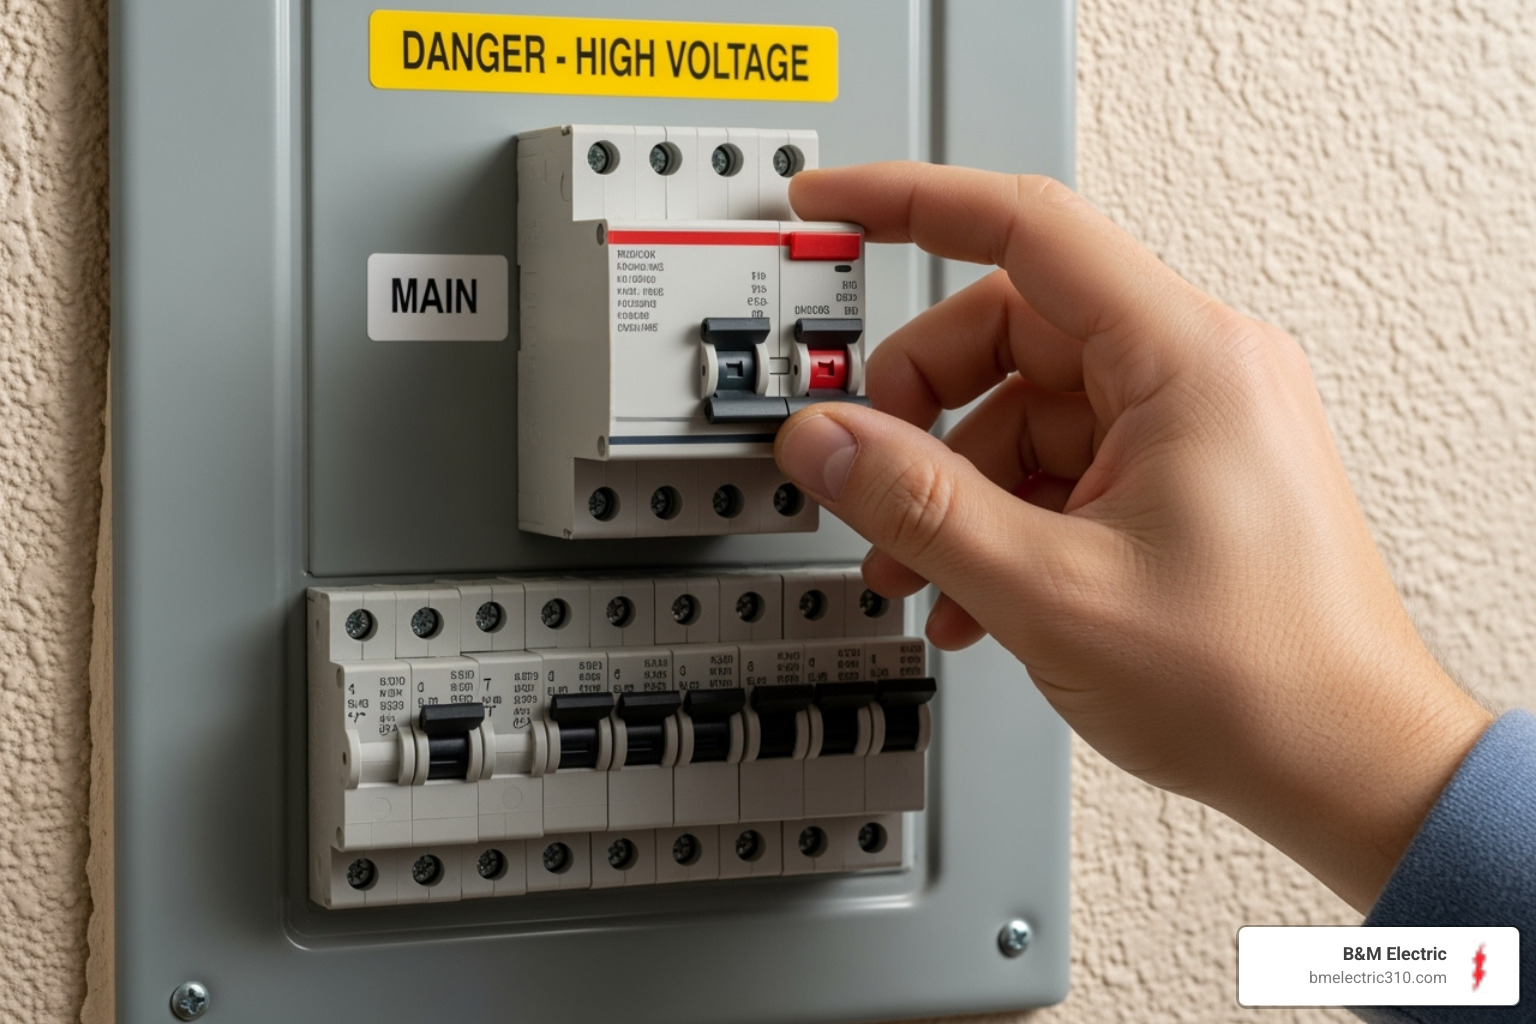
Always, without exception, turn off the power to the affected circuit at your main electrical panel before inspecting or working on any lighting components. Find your breaker box, identify the circuit that controls the light in question (it should be labeled), and flip the breaker to the “OFF” position. It’s a simple step that prevents a dangerous electric shock. For an extra layer of safety, experienced DIYers use a non-contact voltage tester to confirm there is no current at the switch before touching any wires. Trust us, the short walk to the breaker box is always worth it.
These DIY troubleshooting steps can often resolve flickering issues without needing a service call. Let’s explore the most common culprits that homeowners can safely check themselves.
It Might Just Be the Bulb
Here’s a fix so simple it might make you chuckle: loose light bulbs cause more flickering than you’d think. Over time, everyday vibrations—from closing doors, footsteps upstairs, or even the bulb’s own thermal cycles of heating and cooling—can gradually loosen its connection in the socket. When the bulb’s metal base doesn’t make solid, consistent contact with the socket’s terminal, you get that annoying, intermittent flicker.
The fix is refreshingly simple. After ensuring the power is off, wait for the bulb to cool down if it was recently on. Then, gently twist the bulb clockwise until it feels snug in the socket. Be careful not to overtighten, as this can damage the socket’s threads or even crack the bulb’s base.
Wrong bulb types can also create flickering headaches. First, check that you’re using the correct wattage for your fixture. A label inside the fixture will specify the maximum wattage allowed. Exceeding this can cause overheating and flickering, posing a fire risk. Conversely, some older switches require a minimum load to function properly, which a very low-wattage bulb might not meet. Also, consider the quality of the bulb itself. Low-cost, off-brand LED bulbs often use inferior internal components (drivers) that are prone to flickering and early failure.
Some fluorescent bulbs naturally flicker during their warm-up period, especially in cooler temperatures like a garage or basement. This brief flickering for a minute or two is usually normal. However, if it continues, or if a tube-style fluorescent light flickers constantly, it could indicate a failing bulb or a bad ballast (the component that regulates current to the bulb).
To be certain, test the bulb in another fixture that you know works correctly. If the bulb still flickers in the new location, you’ve found your culprit—it’s time for a replacement!
The Dimmer Switch Dilemma
Dimmer switches are fantastic for setting the mood, but they are also frequent troublemakers when it comes to flickering lights. The issue often boils down to a technological mismatch between old dimmer technology and modern, energy-efficient LED bulbs.
Most older dimmers (known as leading-edge or TRIAC dimmers) were designed for the high power draw of incandescent bulbs, which might use 60 watts or more. They work by chopping off part of the AC power wave to reduce brightness. When you install a 9-watt LED bulb on that same dimmer, it’s like asking a fire hose to gently water a houseplant. The dimmer struggles to regulate the much lower current, and the LED’s sensitive driver circuit interprets the choppy power signal as instability, resulting in flickering, buzzing, or a shortened bulb life.
Furthermore, using non-dimmable LED or CFL bulbs on any dimmer circuit is a guaranteed recipe for problems. These bulbs are designed for a full, uninterrupted power supply and cannot handle the variable voltage from a dimmer, which will cause them to flicker, flash, or fail completely.
The best solution is to upgrade to an LED-compatible dimmer switch. These newer dimmers (often called CL, trailing-edge, or ELV dimmers) are specifically engineered to handle the lower wattage and different electrical characteristics of modern LED bulbs, providing smooth, flicker-free dimming.
| Bulb Type | Dimming Capability with Standard Dimmers | Flickering Tendency | Notes |
|---|---|---|---|
| Incandescent | Yes | Medium | Can flicker due to voltage fluctuations or impending burn-out. Older dimmers are designed for these. |
| CFL | Limited, often with specific CFL dimmers | Medium-High | Often flicker during warm-up or with incompatible dimmers. Look for “dimmable” CFLs. |
| LED | Only with LED-compatible dimmers | High with old dimmers | Require specialized dimmers to prevent flickering and buzzing. Always use “dimmable” LEDs. |
If your flickering light switch happens to be a dimmer, especially with LED bulbs installed, this compatibility issue is the most likely answer. Upgrading the dimmer is a straightforward job for an electrician and is far more cost-effective than dealing with ongoing flickering and replacing bulbs prematurely.

