Fixing Your Pool Light: What You Need to Know Before You Call a Pro
By B&M ElectricSeptember 29, 2025
Pool light repair: Safe DIY 2025!
Why Pool Light Issues Can’t Wait
Pool light repair is one of those home maintenance tasks that can seem simple on the surface but quickly becomes complex – and potentially dangerous – if you don’t know what you’re doing.
Quick Pool Light Repair Guide:
- Burnt bulb: Usually a simple replacement if the gasket is also changed
- Flickering light: Often indicates water infiltration or loose connections
- No power: Check GFCI breaker first, then test electrical connections
- Water in fixture: Replace gasket immediately to prevent electrical hazards
- Repeated GFCI trips: Stop using immediately – this signals a serious electrical fault
Picture this: it’s a warm summer evening, and you’re hosting a lively poolside gathering. The atmosphere is electric. Suddenly, the lights go out, plunging your backyard into darkness. This can quickly dampen the mood and put a halt to your fun.
But beyond the inconvenience, pool lights serve a critical safety function. They illuminate the water at night, reducing accident risks and extending your swimming time beyond daylight hours. When they fail, you’re not just losing ambiance – you’re losing an important safety feature.
The challenge is that pool lighting combines two things that don’t mix well: water and electricity. While many pool light repairs can be handled by a confident DIYer, others require professional expertise to ensure safety and code compliance.
Most pool light problems fall into three categories: simple bulb replacement, water infiltration issues, or complex electrical faults. Understanding which category your problem falls into will help you decide whether to grab your screwdriver or call a professional.
Understanding Why Your Pool Light Failed
Before you roll up your sleeves for a pool light repair, it’s worth playing detective for a few minutes. Understanding what went wrong will help you fix it properly the first time – and maybe prevent it from happening again.
Troubleshooting Common Issues Before Attempting a Pool Light Repair
Think of your pool light as having a conversation with you through its behavior. That flickering? It’s trying to tell you something. That sudden darkness? It’s definitely got something to say.
The most straightforward culprit is a burnt-out bulb. If you can remove the bulb safely and give it a gentle shake, you’ll often hear the telltale rattle of a broken filament inside. It’s like a maraca that nobody wants to play.
But here’s where things get more serious: water infiltration is your pool light’s worst enemy. When you see moisture or condensation behind the lens, or notice your light flickering before going dark, water has likely found its way inside. This isn’t just annoying – it’s dangerous. Water and electricity make terrible roommates, and their arguments can lead to electrical shorts, corrosion, and even electrocution risks.
Flickering or dim lights are your early warning system. They’re like your pool light waving a tiny flag saying “Help me!” This could signal water seeping in, a loose connection, a bulb on its last legs, or trouble with the transformer. Don’t ignore the SOS signal.
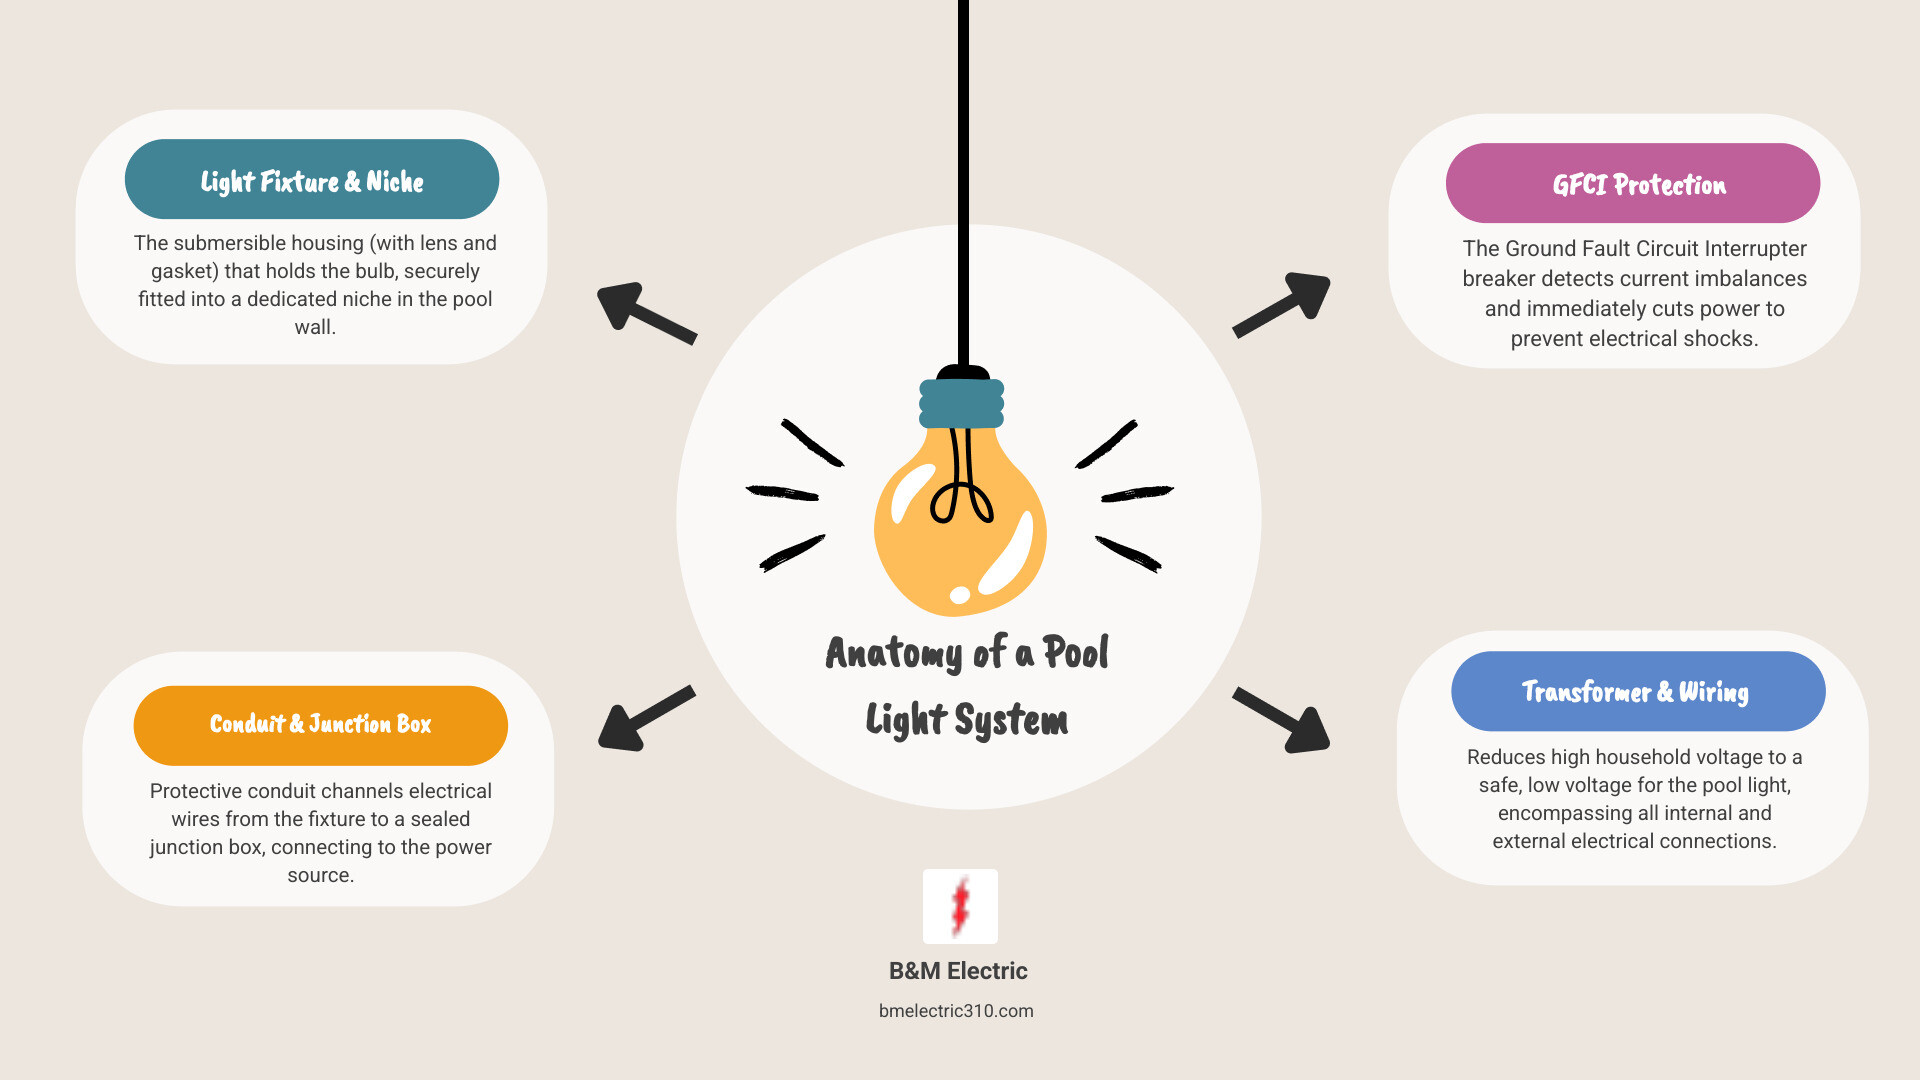
When your GFCI breaker keeps tripping, it’s actually doing its job protecting you. This safety device cuts power the moment it detects electricity going where it shouldn’t – usually because water has created a path for electrical current. If this keeps happening, stop using the light immediately.
Loose connections develop over time as your pool equipment vibrates and shifts. Pool chemicals and moisture can also cause corroded wiring, creating poor electrical contact and unreliable operation.
The rubber gasket around your light fixture works hard to keep water out, but chlorine and time can make it brittle, warped, or completely deteriorated. When this seal fails, everything else follows.
Here’s the thing about ignoring pool light problems: they don’t get better on their own. That small issue today becomes an expensive headache tomorrow, not to mention a safety hazard that could put your family at risk.
The Lifespan of Pool Lights
Not all pool light bulbs are created equal, and understanding their lifespans can help you make smart decisions about repairs versus upgrades.
| Bulb Type | Lifespan (Hours) | Energy Efficiency | Brightness | Color Options |
|---|---|---|---|---|
| Incandescent | 2,000 – 5,000 | Low | Good | Limited |
| Halogen | 3,000 – 6,000 | Medium | Very Good | Limited |
| LED | 25,000+ | High | Excellent | Multi-color |
Traditional incandescent bulbs are like the old reliable pickup truck – they get the job done but aren’t the most efficient option. Halogen bulbs step up the brightness game and last a bit longer, while LED lights are the overachievers of the pool lighting world.
LED pool lights can run for over 25,000 hours. To put that in perspective, if you used your pool light for four hours every evening, an LED bulb could last you over 17 years. Plus, they use significantly less energy and offer amazing color options that can transform your backyard into a light show.
Even if you’re just dealing with a simple bulb replacement now, it might be worth considering an LED upgrade. Your future self – and your electricity bill – will thank you.
Safety First: Pre-Repair Checklist
Let’s be honest – mixing water and electricity is about as smart as using a metal fork to fish toast out of a toaster. But with the right precautions, pool light repair can be done safely by a careful homeowner.
The first and most critical step is turning off power to your pool light circuit. This isn’t just flipping a wall switch – you need to shut off power at the circuit breaker that controls your pool lighting. Most pool lights also have a GFCI outlet that needs to be switched off as well.
Here’s where many people make a dangerous mistake: they assume the power is off without actually testing it. Always use a non-contact voltage tester to confirm there’s no electrical current flowing to the fixture. These little devices can save your life by detecting live wires without you having to touch anything.
Electrical shock risk is real and potentially fatal when you’re working around water. Even if you think you’ve turned everything off, water can create unexpected electrical paths. Take your time with this step – it’s not worth risking your safety to save a few minutes.
Essential Tools and Materials
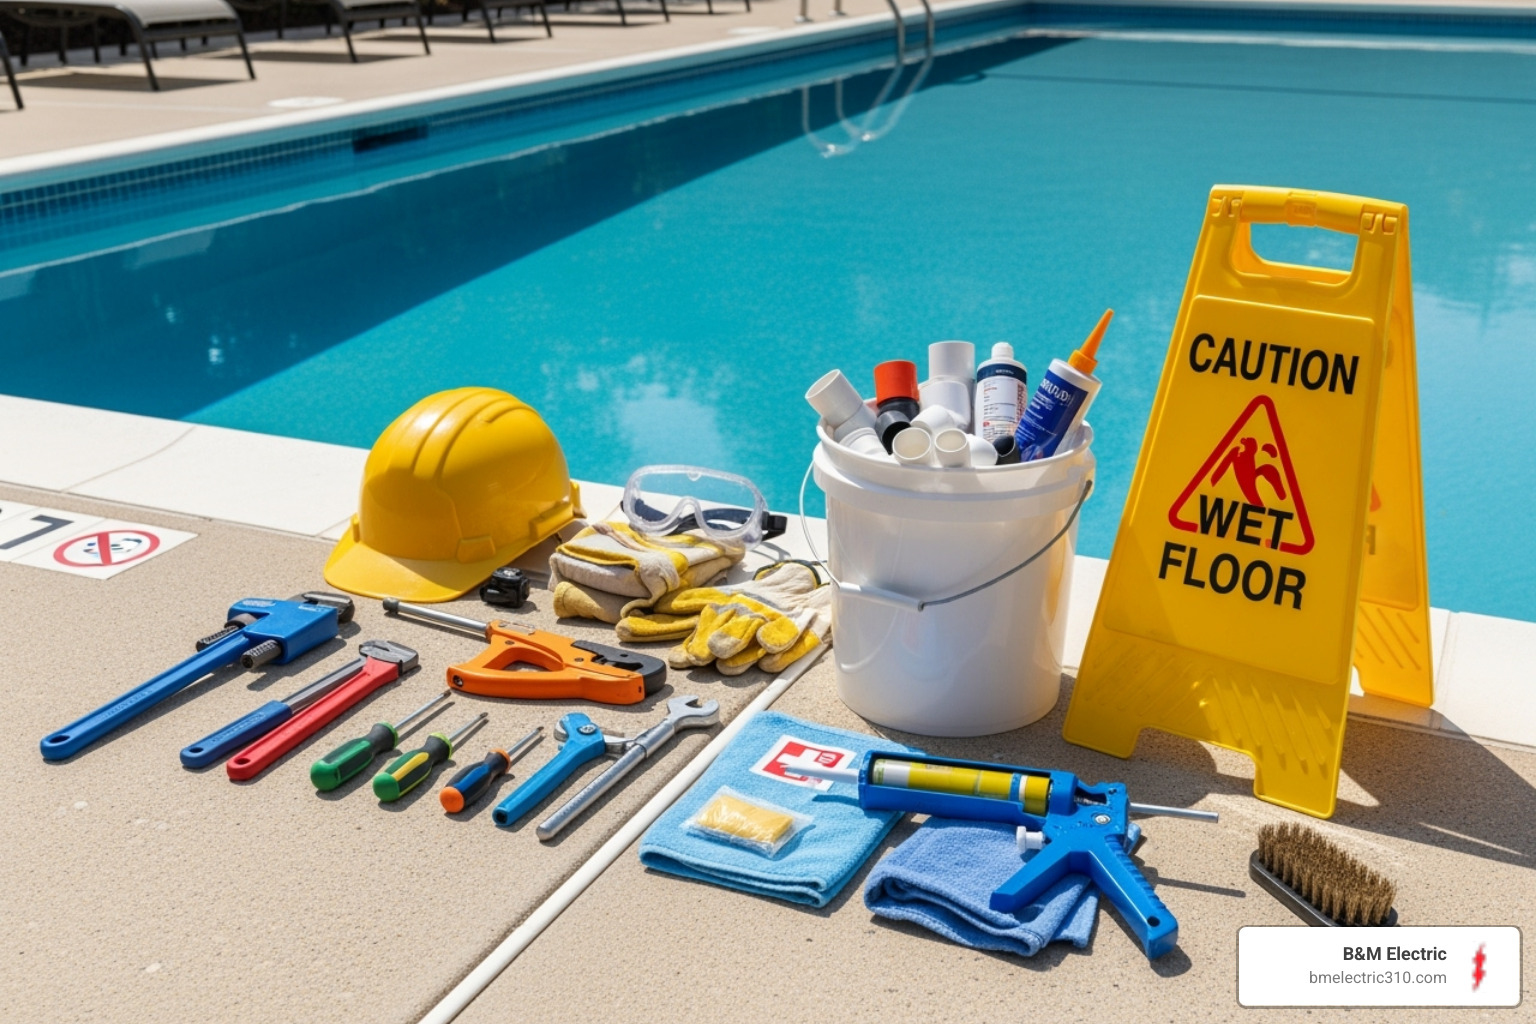
Gathering the right tools before you start will make your pool light repair much smoother and safer. You’ll need a Phillips screwdriver for removing the fixture’s screws, and goggles to protect your eyes while working in tight spaces or near the water.
Make sure you have the correct replacement bulb that matches your fixture’s wattage and base type. Don’t guess on this – check your old bulb or fixture manual. You’ll also need a new lens gasket, which is absolutely crucial. Even if the old gasket looks okay, replace it anyway. Pool chemicals are tough on rubber, and a failed gasket means water in your light fixture.
A multimeter is essential for testing voltage and diagnosing electrical issues safely. If you don’t own one, they’re inexpensive and useful for many household electrical tasks. Dielectric grease applied sparingly to the socket threads will make future bulb changes much easier.
Keep plenty of towels handy to dry the fixture thoroughly before reassembly. If you suspect the cord seal is leaking where it enters the conduit, Dicor BT-1834-1 1/8″ x 3/4″ x 30′ Butyl Seal Tape , Grey provides excellent waterproofing that won’t harden over time.
The key to safe electrical work is preparation and patience. If you feel uncertain about any step, especially the electrical testing, don’t hesitate to call a professional. At B&M Electric, we’d rather help you do it right than see you get hurt trying to save a few dollars.
Essential DIY Pool Light Repair Steps
For many common issues, you can perform a basic pool light repair yourself. We’ll guide you through the steps involved in replacing a burnt-out bulb and gasket, which is the most frequent repair.
Removing and Inspecting the Fixture
Most pool lights are designed with enough cord length to be pulled out of their niche and brought to the pool deck for servicing. This means that, in most cases, you can repair your pool light without draining the pool!
- Turn off Power: This is the most critical step. Locate the circuit breaker for your pool lights (often labeled “Pool Light” or “Underwater Light”) in your main electrical panel and switch it completely off. If your light is connected to a GFCI outlet, flip that off too. For extra safety, use a non-contact voltage tester against the light switch to confirm electricity is off.
- Access the Fixture: Most pool lights are held in a niche by a single lock-screw at the top of the fixture’s face. You can usually reach this from the pool deck with a long-handled Phillips screwdriver, or by getting into the pool with goggles if necessary. Unscrew the lock-screw.
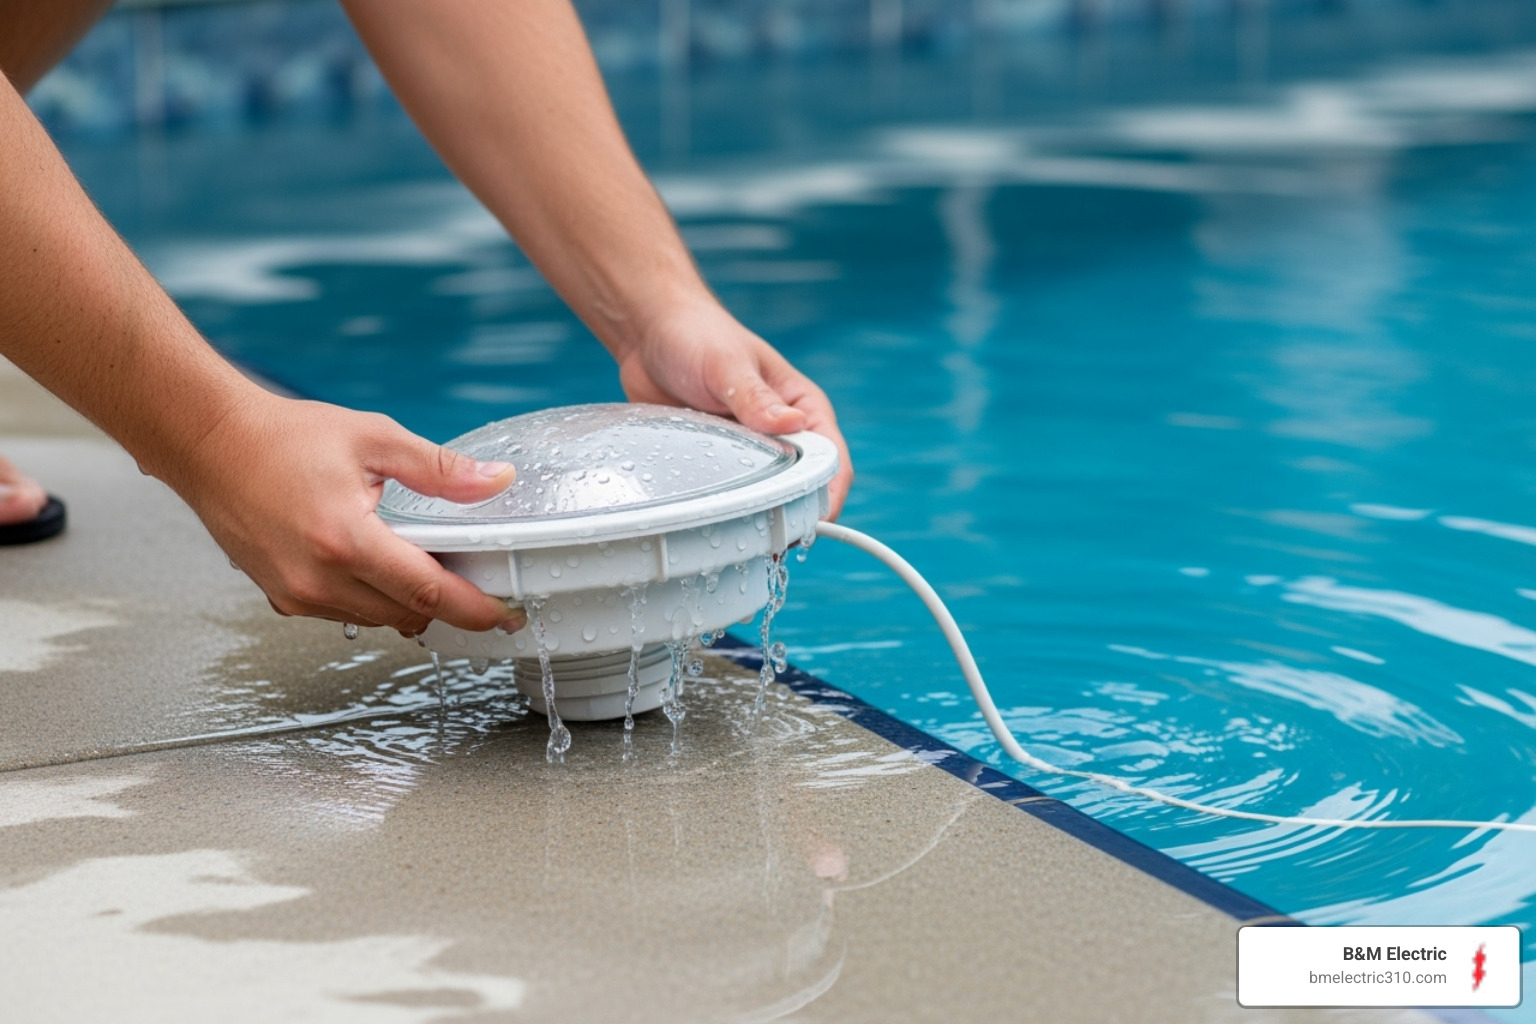
- Remove the Fixture: Carefully pull the light fixture out of its niche. There should be enough slack in the cord to allow you to place the entire fixture on the pool deck. Gently uncoil any excess cord and place the fixture on a clean, dry towel.
- Inspect the Housing: Examine the fixture for any visible damage:
- Cracks: Look for cracks in the lens or housing.
- Corrosion: Check for signs of corrosion on the metal parts or inside the housing.
- Water Damage: If you see water inside the lens, you’ve found your culprit!
- Cord Inspection: Check the electrical cord for any fraying, cuts, or signs of deterioration.
Replacing a Burnt-Out Bulb and Gasket
Once the fixture is on the deck, dry and ready, we can proceed with the replacement.
- Unscrew the Housing: The glass lens is typically held in place by several small screws or a clamp. Carefully unscrew these and remove the lens frame.
- Remove the Old Bulb: Gently unscrew the old bulb. If it’s stuck, a small amount of dielectric grease applied to the base of a new bulb can prevent this in the future.
- Clean the Socket: Wipe away any debris or corrosion from the bulb socket.
- Install the New Bulb: Screw in the new bulb, ensuring it’s the correct wattage and type for your fixture. Do not overtighten.
- Remove the Old Gasket: Carefully peel off the old rubber gasket from around the lens or housing. Old gaskets often warp and disintegrate due to chlorine, so replacing it is paramount for a watertight seal.
- Clean the Lens Channel: Clean any residue from the channel where the gasket sits.
- Install the New Gasket: Place the new gasket firmly into its channel, ensuring it’s properly seated and forms a continuous seal.
- Dry the Interior: Before reassembly, ensure the inside of the light housing is completely dry. Use a clean, dry cloth.
Reassembling and Testing Your Work
You’re almost there! Now for the crucial reassembly and testing phase.
- Secure the Lens and Clamp: Place the lens back onto the housing, aligning it carefully with the new gasket. Reattach the lens frame and screws, tightening them evenly to ensure a consistent seal.
- Submerge and Check for Bubbles: Before securing the fixture back into its niche, gently submerge the entire light fixture into the pool, letting it float freely. Watch closely for a few minutes for any continuous streams of bubbles. A few tiny bubbles are normal as trapped air escapes, but a steady stream indicates a leak. If you see a leak, pull the fixture out, dry it, and recheck the gasket seating and screws.
- Briefly Test the Light: While the light is submerged and floating, you can briefly turn the power back on at the breaker to confirm it illuminates. Do not leave it on for an extended period if it’s not fully secured in its niche, as some bulbs can overheat out of water. Turn the power off again once you confirm it works.
- Secure the Fixture in the Niche: Carefully push the fixture back into its niche in the pool wall, coiling any excess cord neatly inside the niche. Re-fasten the lock-screw securely.
- Final Power On: Turn the power back on at the circuit breaker. Your pool light should now be shining brightly!
When to Call a Professional for Pool Light Repair
While we encourage DIY for simple fixes, there are times when it’s much safer and more effective to call in the experts. At B&M Electric, we have 50 years of local expertise serving Torrance, CA, and the South Bay communities, and we understand the unique challenges of pool electrical systems.
Look, we love a good DIY success story as much as anyone. There’s something satisfying about fixing your own pool light repair and getting that warm glow back in your backyard. But sometimes, the smartest move is knowing when to step back and call the professionals.
Complex electrical problems are where things get tricky fast. If you’ve replaced the bulb and gasket but your GFCI breaker keeps tripping, you’re dealing with something more serious. This could mean faulty wiring buried in your pool’s electrical system, a failing transformer, or problems deep inside the junction box. These issues require specialized diagnostic tools and the kind of electrical knowledge that comes from years of experience.
Persistent water leaks can be particularly frustrating. You’ve done everything right – new gasket, careful installation, perfect seal – but water keeps finding its way into your fixture. This often points to problems you can’t see, like a cracked niche in your pool wall or damaged conduit running through your pool’s structure. While a little butyl tape might help with minor conduit leaks, ongoing water intrusion usually signals something that needs professional attention.
Advanced Electrical Diagnostics
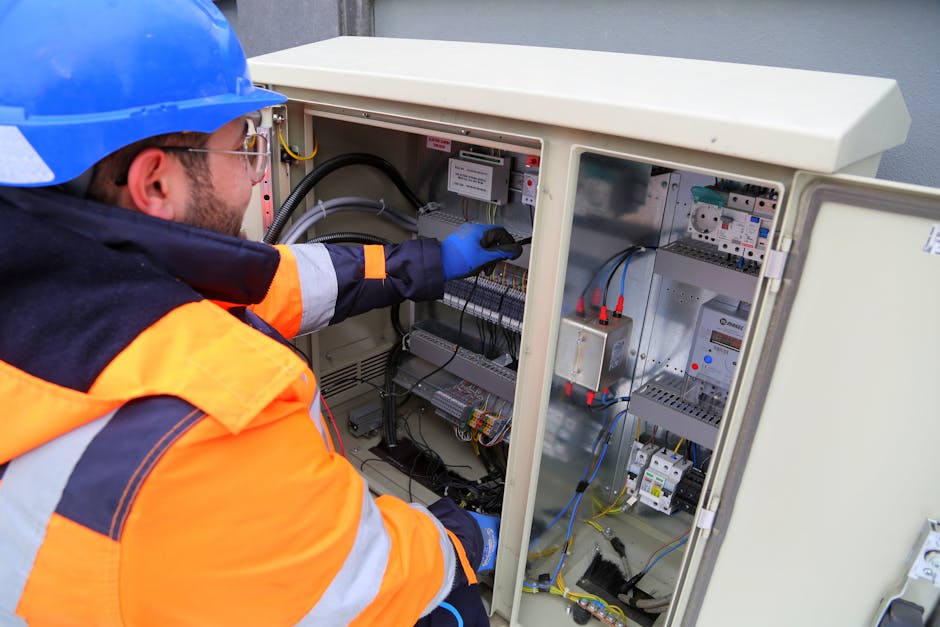
When your pool light repair moves beyond the basics, the diagnostic process becomes much more complex. Testing the transformer requires understanding voltage readings and having the right equipment to safely measure electrical current. Checking voltage at the junction box involves working with live electrical systems near water – not exactly a weekend DIY project.
Tracing faulty wiring through conduits and junction boxes requires both specialized tools and the experience to interpret what you’re finding. Is that reading normal, or does it indicate a problem? A licensed electrician can quickly identify issues that might take a homeowner hours to troubleshoot.
Bonding and grounding issues are critical for pool safety but invisible to the naked eye. These systems prevent dangerous voltage differences that could put swimmers at risk. Only a qualified electrician can properly inspect and ensure these safety systems meet current electrical codes.
Buzzing sounds from your light, transformer, or junction box should never be ignored. These unusual noises often indicate electrical components under stress or failing connections that could become dangerous.
Upgrading to Modern LED Lighting
Sometimes the best pool light repair isn’t actually a repair at all – it’s an upgrade that solves your problems permanently. If your old incandescent system keeps giving you headaches, switching to LED lighting might be your smartest move.
LED lights offer incredible benefits that go far beyond just working properly. They use a fraction of the energy, lasting up to 25,000 hours compared to the 2,000-5,000 hours you get from traditional bulbs. They run cooler, reducing heat stress on your fixture, and many come with color-changing options that can completely transform your pool’s nighttime ambiance.
But here’s the thing about upgrades – they’re rarely as simple as just screwing in a different bulb. Professional installation ensures compatibility between your new LED system and your existing electrical setup. Older pools often need transformer adjustments or even new fixtures to work properly with modern LED technology.
Our team understands how to integrate new lighting systems with existing pool infrastructure, ensuring everything works safely and efficiently. We make sure your upgrade meets all current safety standards and electrical codes – something that’s especially important when you’re dealing with water and electricity.
For comprehensive information about our outdoor electrical services, including complete pool lighting system upgrades, check out more info about outdoor electrical services.
The bottom line? Simple bulb and gasket replacements are perfect DIY projects. But when you’re dealing with persistent electrical issues, safety concerns, or system upgrades, calling B&M Electric means getting the job done right the first time – safely and up to code.
Frequently Asked Questions about Pool Lighting
Over our 50 years serving Torrance and the South Bay communities, we’ve heard just about every pool light repair question you can imagine. Here are the ones that come up most often during our service calls.
Can most pool lights be repaired without draining the pool?
The good news is yes! Most modern pool lights come with plenty of extra cord length tucked away in the niche. This thoughtful design allows us to pull the entire fixture up to the pool deck for service without you having to drain thousands of gallons of water.
It’s one of those small engineering details that makes a huge difference when you need repairs. Instead of spending a day draining and refilling your pool, we can usually have your light fixed in under an hour.
However, there are some exceptions. If the issue involves structural problems with the niche itself, damaged conduit running through the pool wall, or complex electrical faults deep in the system, we might need to lower the water level for safe access. These situations are less common, but when they occur, partial draining ensures we can work safely and make lasting repairs.
What causes a pool light to flicker?
Think of a flickering pool light as your pool’s way of asking for help. It’s rarely a good sign, and it usually means something needs attention sooner rather than later.
Poor electrical connections are often the culprit. Over time, vibrations from pool equipment, temperature changes, and simple aging can loosen wire connections. When electricity has to “jump” across a loose connection, you get that telltale flickering.
Sometimes it’s a failing bulb that’s on its last legs. Even before completely burning out, bulbs can start flickering as their internal components deteriorate. This is especially common with older incandescent bulbs that have been through many heating and cooling cycles.
Water seepage is the more serious possibility. When moisture gets into places it shouldn’t be, it creates electrical resistance and intermittent connections. This can cause erratic flickering that gets worse over time.
Transformer or power supply issues can also create inconsistent voltage delivery, leading to flickering throughout the system. This is particularly noticeable if multiple lights flicker simultaneously.
The bottom line? Flickering requires prompt investigation. What starts as a minor annoyance can quickly escalate into a safety hazard or complete system failure.
Why does my pool light keep tripping the GFCI breaker?
When your GFCI breaker keeps tripping, it’s doing exactly what it was designed to do – protecting you from electrical shock. A GFCI detects when electricity is leaking from its intended path, and in pool lighting, this almost always means water has gotten where it shouldn’t be.
The most common cause is a failed gasket or seal. That rubber gasket around your light lens might look fine from the outside, but pool chemicals are tough on rubber. Over time, gaskets become brittle, warp, or develop tiny cracks that let water seep in. Once water reaches the electrical components, the GFCI immediately cuts power.
Cracked lenses or damaged housing create obvious entry points for water. Sometimes the damage is visible, but hairline cracks can be nearly impossible to spot without removing the fixture.
Don’t overlook the electrical cord itself. The cord running from your light to the junction box can develop problems where it enters the fixture or travels through the conduit. Pool chemicals, ground settling, or simple age can compromise the cord’s insulation.
Less commonly, there might be an internal defect within the light fixture that’s creating the ground fault.
Here’s what’s important to remember: never ignore a repeatedly tripping GFCI. It’s not being overly sensitive – it’s detecting a real shock hazard. Swimming in a pool with electrical faults can be deadly. If your GFCI keeps tripping, stop using the light immediately and call us for a thorough diagnosis.
Restore Your Pool’s Glow Safely
Your pool lights do more than just create a beautiful evening ambiance – they’re a crucial safety feature that keeps your family and guests secure during nighttime swimming. Throughout this guide, we’ve covered everything from diagnosing common issues to performing basic pool light repair tasks safely.
The key takeaways for safe pool lighting maintenance include always turning off power at the circuit breaker before any work, understanding when a simple DIY fix is appropriate, and recognizing when it’s time to call in the professionals. The combination of water and electricity isn’t something to take lightly.
Addressing pool light problems promptly can save you from bigger headaches down the road. A flickering light today could become a completely failed system tomorrow, or worse – a safety hazard. That burnt-out bulb might seem like a minor inconvenience, but ignoring the underlying gasket issues could lead to water infiltration and electrical faults.
When electrical work gets complex – like persistent GFCI tripping, buzzing sounds, or voltage issues at the junction box – that’s where professional expertise becomes invaluable. At B&M Electric, our 50 years of local experience in Torrance and the South Bay means we understand the unique challenges of pool electrical systems in our coastal climate.
Professional electrical safety goes beyond just fixing the immediate problem. We ensure your pool lighting meets current electrical codes, verify proper bonding and grounding, and can help you explore energy-efficient LED upgrades that will serve your family for decades to come.
For complex diagnostics, fixture replacement, or any electrical work you’re unsure about in the Torrance area, trust a licensed professional who brings both technical expertise and that personal touch you deserve.
Contact us for expert outdoor electrical solutions and let’s get your pool glowing safely again!


