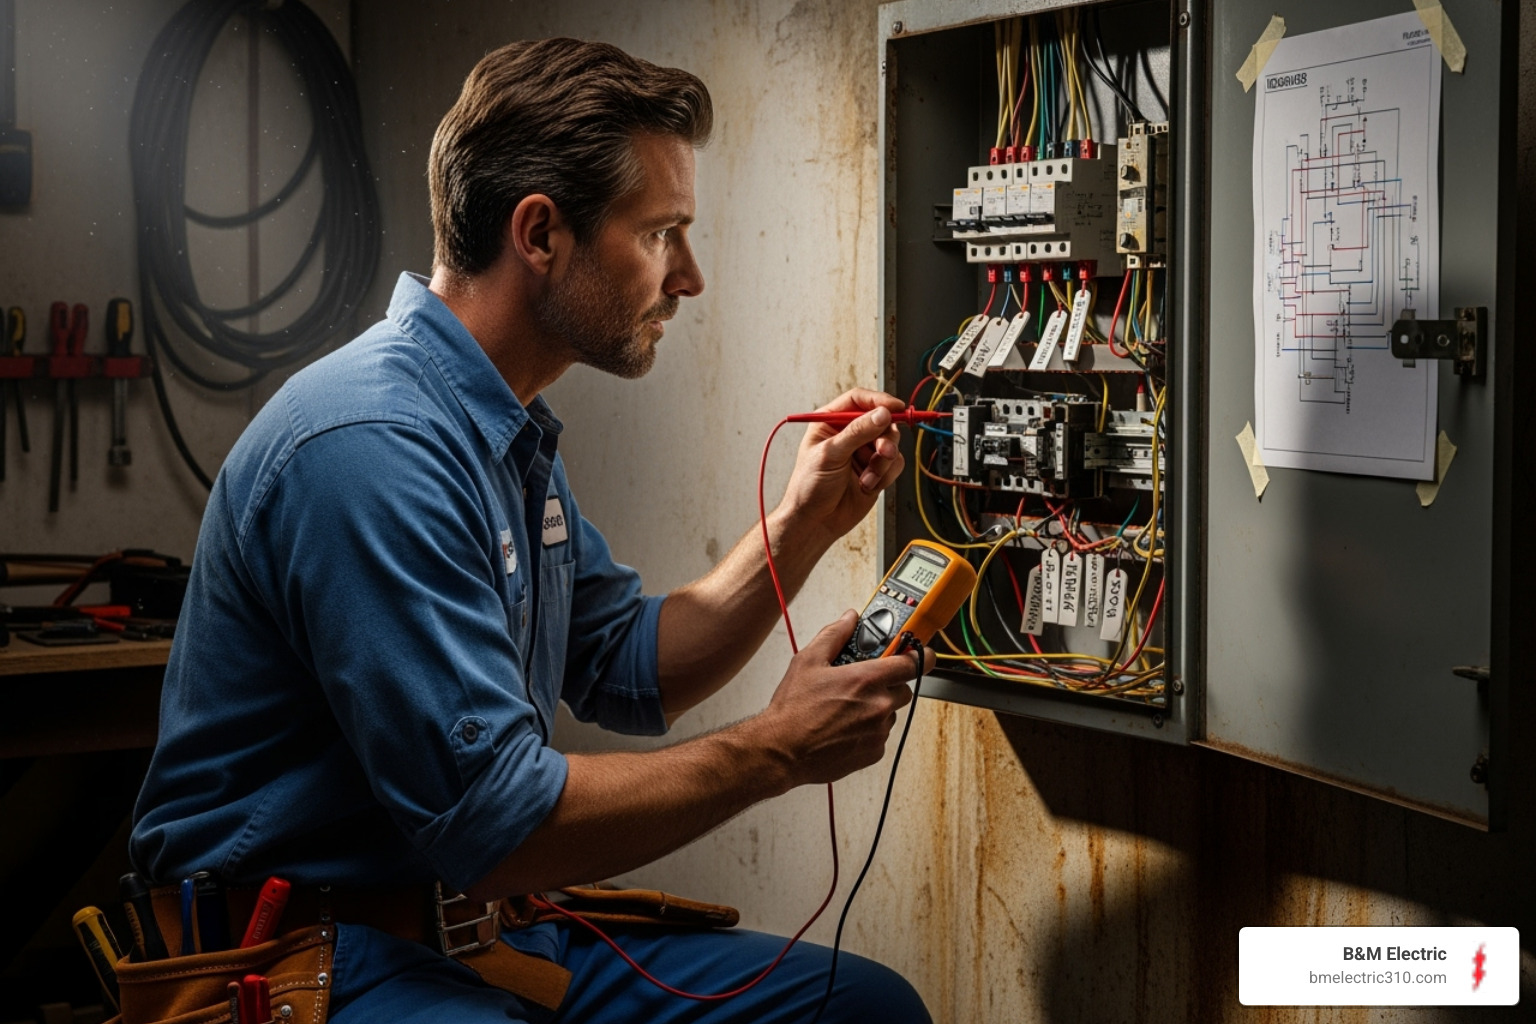
New Electrical Outlets: Everything You Need to Know for a Safe Install
By B&M ElectricOctober 30, 2025
New Electrical Outlets: Safe Guide 2025
Why Upgrading Your Home’s Electrical System Matters
New electrical outlets offer more than just extra plug-in spots; they introduce modern safety features, convenient charging, and smart home integration that older outlets lack. Whether you’re adding a new outlet, replacing a worn one, or upgrading to a GFCI model, understanding the process is key to making safe, code-compliant choices.
Quick Answer: Installing New Electrical Outlets
- Turn off power at the circuit breaker and verify with a voltage tester.
- Choose the right outlet type: GFCI for wet areas, AFCI for bedrooms, USB for convenience.
- Match amperage to your circuit: 15-amp outlets for 14-gauge wire, 20-amp for 12-gauge.
- Run cable from an existing power source if adding a new location.
- Wire correctly: black (hot) to brass, white (neutral) to silver, ground to green screw.
- Test thoroughly before use.
Frustrations like needing an outlet for a wall-mounted TV or using adapters for two-prong receptacles are common in older homes. Fortunately, installing new outlets is a manageable project with the right knowledge. Modern outlets are vast improvements, with GFCIs preventing shock, AFCIs stopping fires, and USB or smart outlets adding convenience.
Above all, safety is paramount. The National Electrical Code mandates specific outlet types for certain locations. It’s also critical to match your outlet to your circuit’s amperage (15 or 20 amps). Mismatched components, like a 20-amp outlet on a 15-amp circuit, create a serious fire hazard.
This guide covers choosing the right outlet, the installation process, and when to call a professional instead of going the DIY route.
Similar topics to new electrical outlets:
Understanding Modern Outlet Types and Features
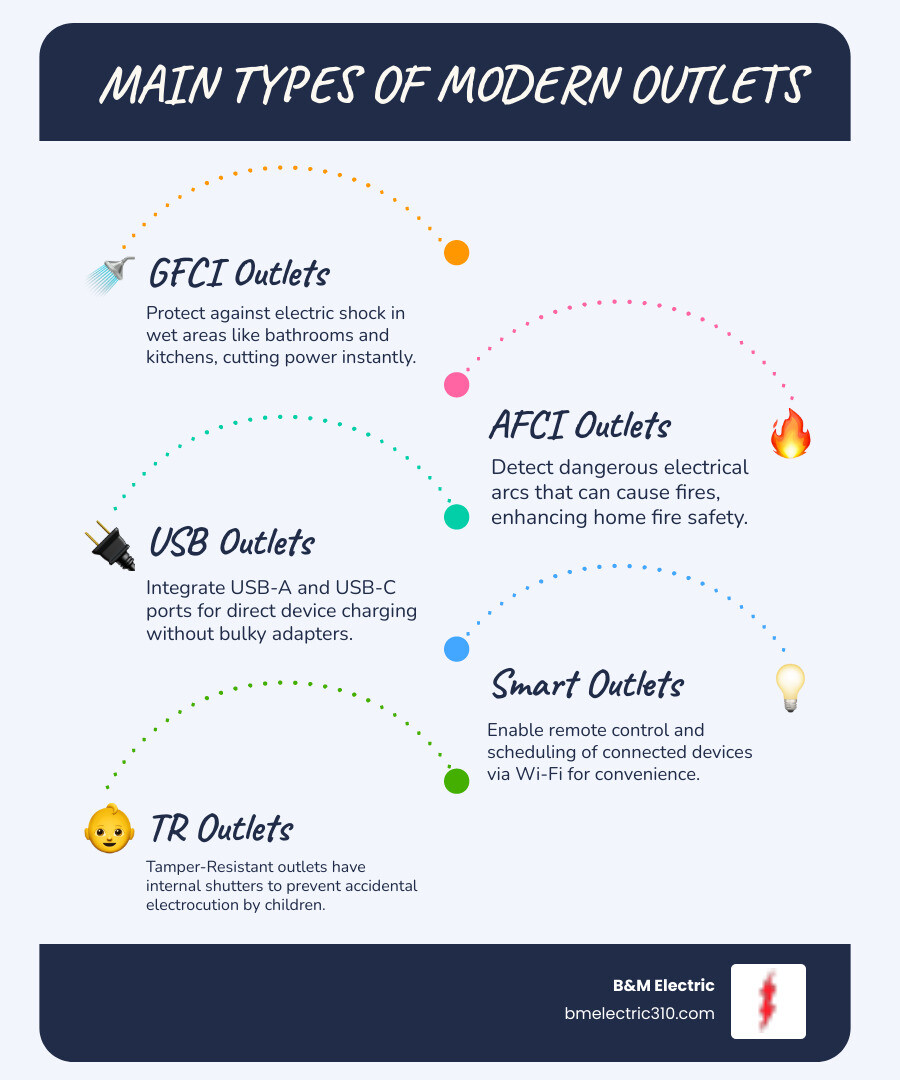
Today’s new electrical outlets offer far more than basic power. They prevent fires, charge devices without adapters, and even respond to voice commands. The difference isn’t just cosmetic; modern receptacles incorporate life-saving safety features and conveniences that make daily life easier.
| Outlet Type | Key Feature | Ideal Location | Primary Benefit |
|---|---|---|---|
| Standard (15A/20A) | Basic power delivery | Living rooms, bedrooms, general-purpose areas | General power access |
| GFCI | Ground Fault Circuit Interrupter | Bathrooms, kitchens, garages, outdoors | Prevents electrical shock |
| AFCI | Arc Fault Circuit Interrupter | Bedrooms, living rooms, dens | Prevents electrical fires |
| USB | Integrated USB-A and/or USB-C charging ports | Kitchens, offices, bedrooms | Convenient device charging |
| Smart | Wi-Fi connectivity, app/voice control | Lamps, small appliances, holiday lights | Remote control, automation, energy monitoring |
| Tamper-Resistant (TR) | Internal shutter mechanism | All residential areas | Child safety, prevents foreign object insertion |
| Weather-Resistant (WR) | Improved durability for outdoor exposure | Outdoors, patios, decks | Withstands elements, prevents corrosion |
USB outlets are a prime example of modern convenience, featuring built-in USB-A and USB-C ports to create instant charging stations on kitchen counters or beside tables. Smart outlets take this further, allowing you to control lamps and appliances with your phone, set schedules, and even monitor energy usage.
However, the most critical upgrades are safety-focused. GFCI outlets are required by code in wet locations like kitchens and bathrooms, shutting off power in a fraction of a second if they detect a ground fault, preventing electric shock. AFCI outlets detect dangerous electrical arcs that can cause fires and are required in living areas and bedrooms. Finally, tamper-resistant (TR) outlets, now required in most new residential installations, have internal shutters to protect children from shock.
Choosing the Right Type of New Electrical Outlets
Picking the right outlet is about matching the device to the room’s needs and code requirements.
- GFCI Outlets: These are non-negotiable in bathrooms, kitchens, garages, basements, and outdoor areas. They monitor current and cut power instantly if they detect a leak, preventing life-threatening shocks. Many new models include a self-test function for continuous peace of mind.
- AFCI Outlets: These protect against fires caused by damaged wiring. They detect the unique electrical signature of a dangerous arc and cut power before surrounding materials can ignite. Codes typically require them in bedrooms, living rooms, and other common areas.
- USB & Smart Outlets: USB outlets eliminate the need for bulky charging adapters, while smart outlets offer remote control, scheduling, and voice command integration for a connected home experience.
- Combination Outlets: These devices offer multiple functions in one, such as dual GFCI/AFCI protection or a blend of standard receptacles and USB ports.
Nearly all new electrical outlets installed today must be tamper-resistant (TR). These outlets contain spring-loaded shutters that prevent a child from inserting an object into a single slot, a crucial safety feature for any home with children. The National Fire Protection Association provides detailed information on why these are so important.
Matching Amperage and Voltage to Your Circuit
Before installing any outlet, you must ensure it matches your circuit’s specifications. This is a critical safety rule. Most home circuits are 120-volt and rated for either 15 or 20 amps. The breaker, wire, and outlet must all be compatible.
- 15-amp circuits use 14-gauge wire (dime-thick) and are common for general lighting and outlets in living rooms and bedrooms. They require 15-amp receptacles.
- 20-amp circuits use thicker 12-gauge wire (nickel-thick) and are found in kitchens, laundry rooms, and garages for high-power appliances. They can support 20-amp receptacles, identifiable by a T-shaped neutral slot.
The cardinal rule: Never install a 20-amp receptacle on a 15-amp circuit. Doing so could allow an appliance to draw more current than the wiring can handle, creating a severe fire risk inside your walls. Check the number on the circuit breaker in your electrical panel to determine the circuit’s maximum amperage. If you are unsure about your wiring, do not guess. Contact a professional electrician to ensure your installation is safe and code-compliant.
A DIY Guide to Installing New Electrical Outlets
Adding new electrical outlets can greatly improve your home’s functionality. While this can be a rewarding DIY project, safety is the absolute priority. Electrical work is dangerous, and a single mistake can lead to injury or fire. If you have any doubts, call a licensed electrician.
This guide covers installing an outlet by tapping into an existing circuit, a process known as “old work.”
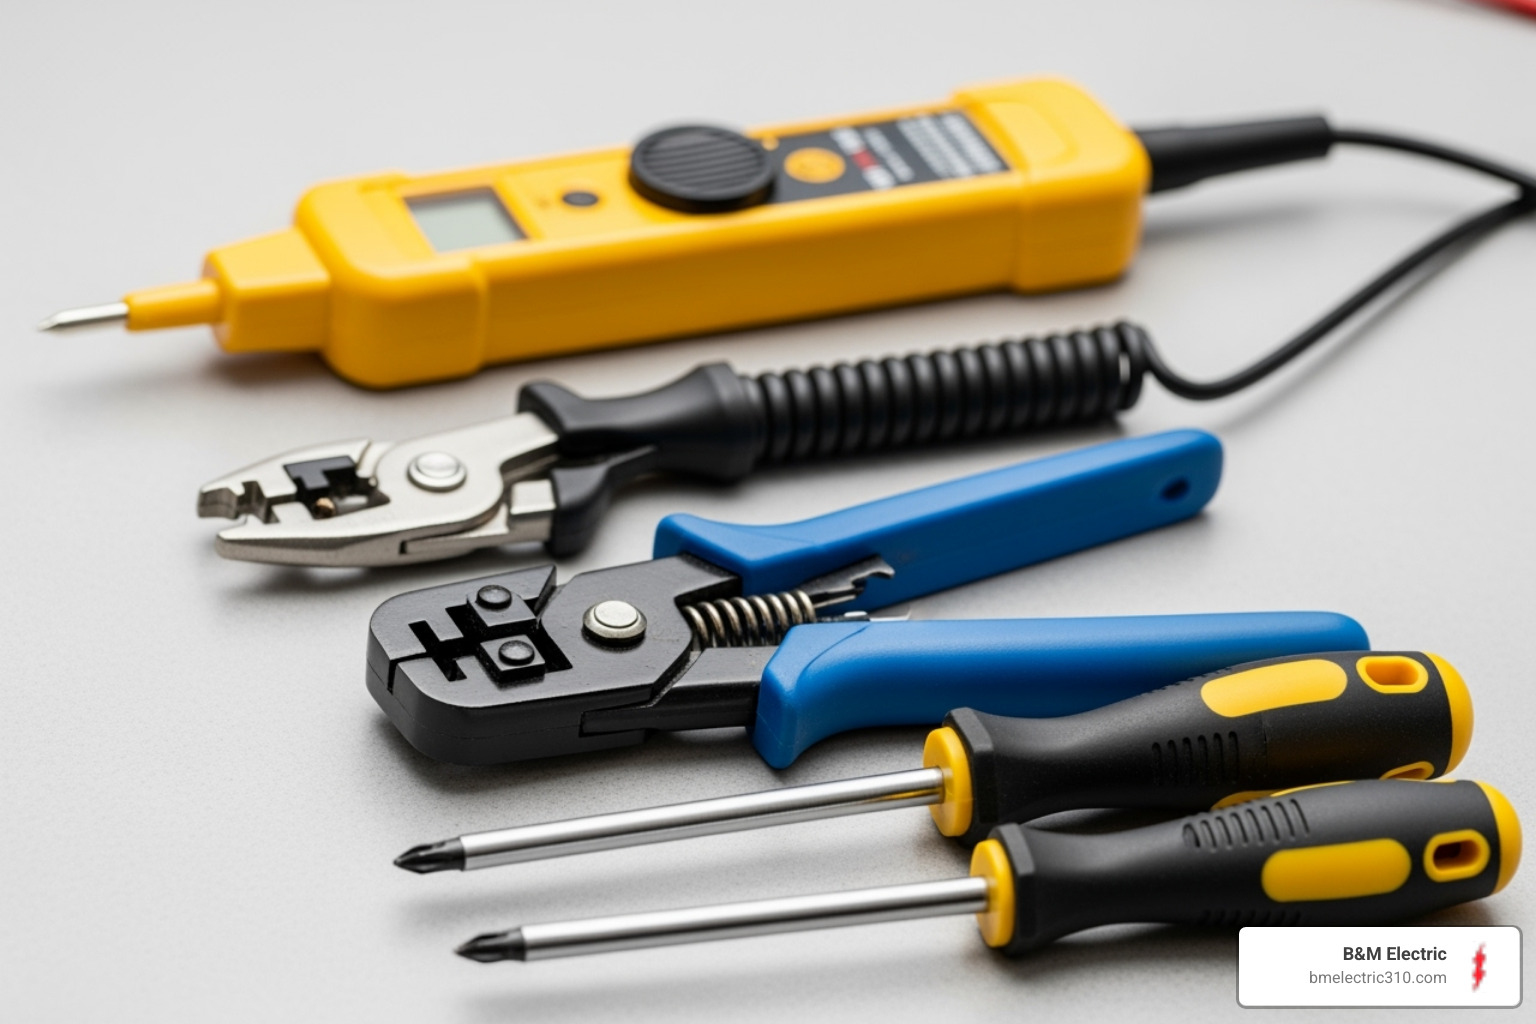
Essential tools for outlet installation, including a voltage tester, wire strippers, and screwdrivers.
Before you begin, gather your tools and materials: a non-contact voltage tester, screwdrivers, wire strippers, a drywall saw, fish tape, your new outlet (matching the circuit’s amperage), an “old work” electrical box, NM-B cable (e.g., 14-2 for 15-amp circuits), wire connectors, and safety gear.
Step 1: Safety and Preparation
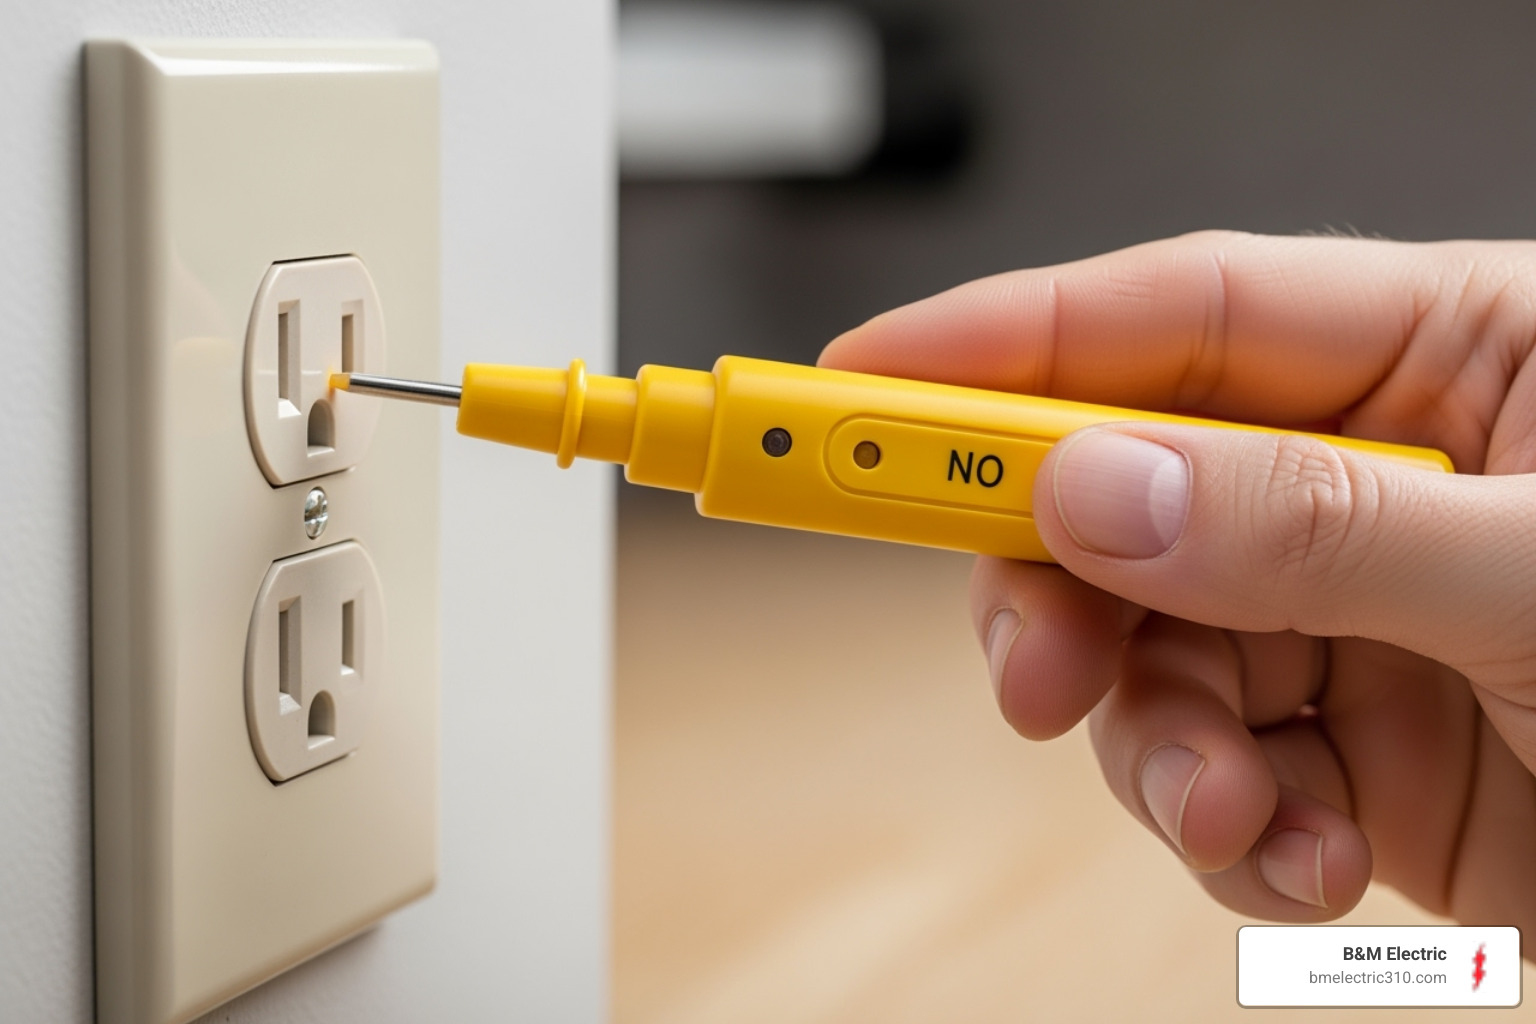
This step is non-negotiable. Go to your main electrical panel and turn the circuit breaker for the outlet you’re tapping into to the OFF position. Then, return to the outlet and verify the power is off using your non-contact voltage tester. Test both slots and the terminal screws. If the tester indicates any power, stop and find the correct breaker. Do not proceed until you get a “no power” reading.
Always use a voltage tester to ensure the circuit is dead before touching any wires.
Step 2: Cutting the Opening and Running Cable
Use a stud finder to locate a spot for your new outlet between two wall studs. Trace the outline of your old work box onto the wall and carefully cut the opening with a drywall saw. Next, run the new NM-B cable from the existing outlet box to the new opening. Fish tape is useful for pulling the cable through the wall cavity. Leave about six to eight inches of extra cable at both ends. Be mindful of box fill capacity; overcrowding a box is a fire hazard.
Step 3: Wiring the New Receptacle
At both boxes, strip the outer sheathing from the cable to expose the black (hot), white (neutral), and bare copper (ground) wires. Strip about 3/4 of an inch of insulation from the ends of the black and white wires.
Use pigtail connections for reliability. This involves connecting short pieces of wire to the outlet’s terminals and then joining them to the circuit wires with a wire nut. This ensures that a problem with one outlet doesn’t affect others downstream.
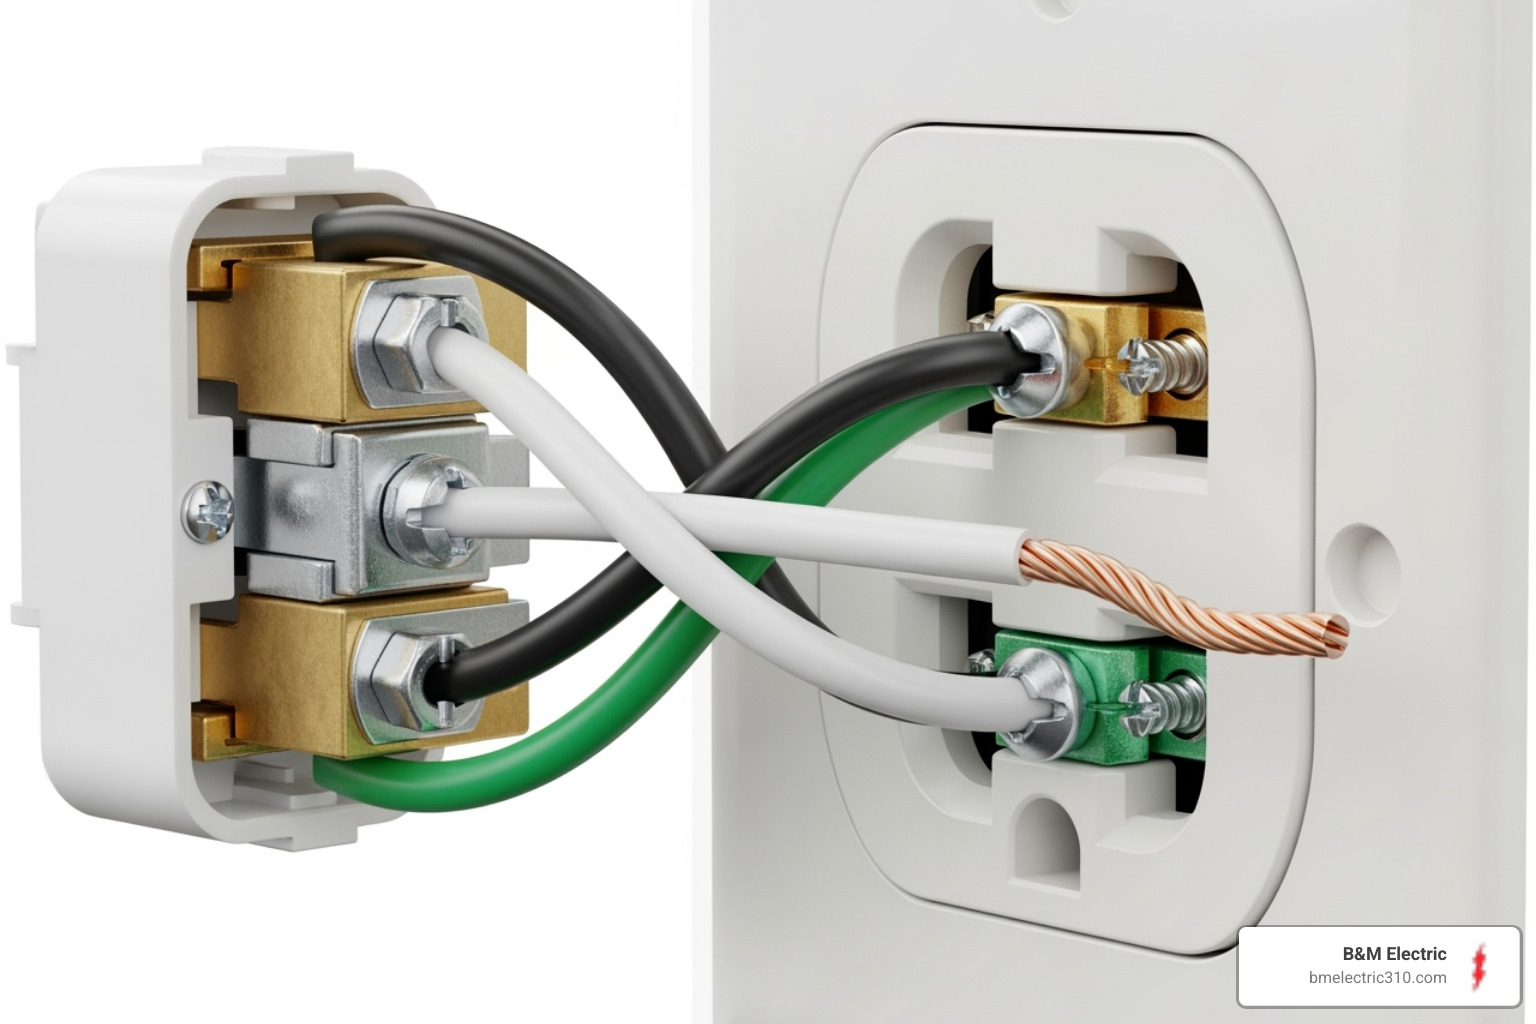
Connect the wires to the new receptacle following the color code:
- Ground (bare copper/green) to the green screw.
- Neutral (white) to a silver screw.
- Hot (black) to a brass screw.
Wrap wires clockwise around the screws and tighten them securely. Give each wire a gentle tug to confirm it’s secure. Always use the screw terminals, not the less reliable “back-stab” push-in connections.
Proper wiring connections are crucial for safety. Black (hot) to brass, white (neutral) to silver, and bare copper/green (ground) to the green screw.
Step 4: Installation and Testing
Carefully fold the wires into the electrical box and push the receptacle into place. Secure it with the mounting screws, but don’t overtighten. Attach the cover plate.
Return to the panel and flip the breaker back to the ON position. Plug a receptacle tester into your new outlet. The tester’s lights will indicate if the wiring is correct. If it is, you’re done! If it shows a problem or the breaker trips, turn the power off immediately and re-check your connections. If you can’t find the issue, it’s time to contact a professional for your electrical needs. We’re always happy to help ensure a project is completed safely.
When to Call a Professional Electrician
While some outlet installations are DIY-friendly, many situations require a professional electrician. Attempting complex electrical work yourself can be dangerous. At B&M Electric, with 50 years of experience in Torrance and the South Bay, we’ve seen the risks of projects gone wrong and want you to know when to call for expert help.
A professional electrician can safely inspect and upgrade your electrical panel, ensuring your home’s system can handle new electrical outlets and appliances.
Call an electrician immediately if you notice any of these signs of danger: sparks or smoke from an outlet, a hot or warm outlet, or a burning smell. These are urgent fire hazards that require immediate professional attention. Shut off the circuit at the breaker and call for help.
Other situations that demand a professional include:
- Outdated Wiring Systems: Homes with knob-and-tube (pre-1940s) or aluminum wiring (mid-1960s to late-1970s) have systems that are ungrounded, brittle, or prone to loosening. Adding new electrical outlets to these systems requires specialized knowledge to prevent fire risks.
- Main Panel Work: Any work inside your main electrical panel, such as adding a new circuit or upgrading your service, is strictly a job for a licensed electrician. Mistakes here can compromise your entire home’s safety.
- Permit Requirements: Running new circuits or adding outlets in new locations typically requires a permit and inspection to ensure the work is code-compliant. A professional electrician handles this process, ensuring your project is legal and safe.
If you feel uncertain at any point, stop and call a professional. It’s the smartest and safest choice.
Key Safety Precautions for New Electrical Outlets
All electrical work must adhere to strict safety standards to protect your home and family.
- National Electrical Code (NEC): This is the benchmark for safe electrical design and installation in the U.S. Following NEC guidelines is mandatory.
- UL Listed Products: Always use electrical components with a “UL Listed” label, which certifies they have passed independent safety testing.
- Grounding: The grounding system is a critical safety feature that protects you from shock. All three-prong outlets must be properly grounded. For more safety information, the Occupational Safety and Health Administration (OSHA) provides excellent electrical safety resources.
- Circuit Protection: Never replace a circuit breaker with a higher-rated one to stop it from tripping. A tripping breaker is a warning sign of an overload or a fault that needs to be addressed.
Frequently Asked Questions about Outlet Installation
After five decades of installing new electrical outlets in Torrance and the South Bay, we’ve heard every question. Here are answers to the most common ones.
Can I replace an old two-prong outlet with a three-prong one?
Yes, but it must be done correctly. A two-prong outlet indicates your wiring is ungrounded. Simply swapping it for a three-prong outlet creates a false sense of security, as the ground connection isn’t active.
The correct, code-compliant solution is to replace the two-prong outlet with a GFCI (Ground Fault Circuit Interrupter) outlet. A GFCI provides personal protection from electrical shock even without a ground wire by monitoring current and tripping if it detects a leak. The National Electrical Code (NEC) requires you to place a label on the outlet cover plate reading “No Equipment Ground” or “GFCI Protected,” which comes with the new outlet.
How do GFCI and AFCI outlets make my home safer?
Think of them as two different types of safety devices for your electrical system.
GFCI outlets protect people from electrical shock. They are required in wet areas like kitchens and bathrooms. A GFCI monitors the electrical current and cuts power in a fraction of a second if it detects a ground fault (e.g., current flowing through water or a person), preventing serious injury.
AFCI outlets protect your home from fires. They detect dangerous arc faults—sparks created by damaged wires or loose connections—that can ignite surrounding materials. AFCIs shut off power before a fire can start and are typically required in living areas and bedrooms.
Dual-function devices that combine both GFCI and AFCI protection are also available.
Do I need a permit to install a new outlet?
The answer depends on your location and the scope of the work.
Generally, you do not need a permit for a simple replacement, like swapping an old outlet for a new one of the same type. This is considered minor maintenance.
However, you almost always need a permit if you are adding a new electrical outlet where one didn’t exist before, running a new circuit from your panel, or making significant wiring modifications. A permit ensures a qualified inspector verifies the work meets safety codes. Always check with your local building department in Torrance or the South Bay before starting a project. When in doubt, ask a professional.
Conclusion
Upgrading to new electrical outlets is one of the smartest improvements for your home, enhancing both safety and convenience. From the shock prevention of GFCIs and fire-stopping power of AFCIs to the modern ease of built-in USB ports, new outlets meet today’s electrical demands.
We’ve covered how to choose the right outlet, match it to your circuit, and the steps for a safe installation. The key takeaways are simple: always prioritize safety by turning off and testing the power, select the correct outlet for each location, and, most importantly, recognize when a project is best left to a professional.
Electrical work is unforgiving. While a simple replacement may be a manageable DIY task, jobs involving outdated wiring, main panel work, or running new circuits require an experienced electrician. Making the responsible choice to call a professional protects your home and family.
For 50 years, B&M Electric has been the trusted electrical expert in Torrance, CA, and the South Bay. We’ve helped countless families steer electrical upgrades safely and efficiently. Our team combines technical expertise with a commitment to providing a pleasant, stress-free customer experience.
If you’re considering installing new electrical outlets or have any other electrical project in mind, we’d love to help. Let our five decades of experience work for you.
Contact a professional for your electrical needs and find why your neighbors have trusted B&M Electric for half a century.
